The HOS Reports page provides access to various detailed reports on driver's daily driving history in addition to any history changes which may have been performed. Simply click on the buttons to display the dialog corresponding to the report you want to generate.
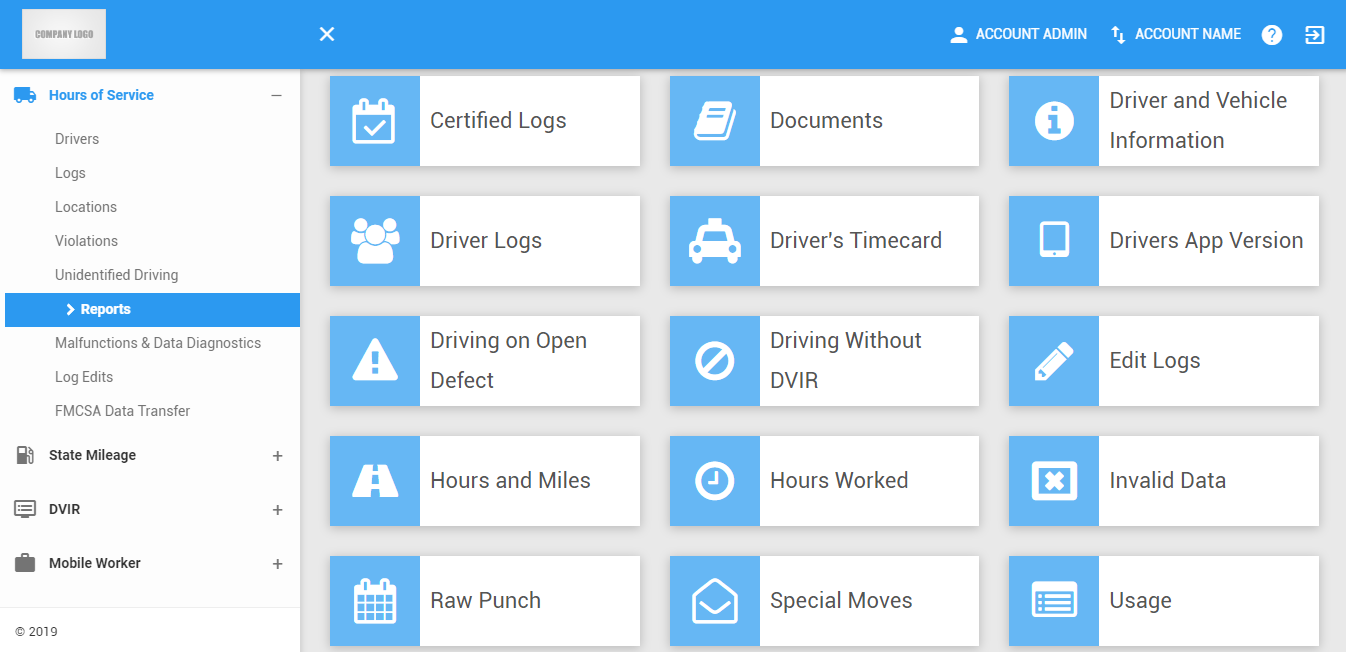
Note: This page can only be accessed if the user has permission to view the portal HOS reports tab.
Certified Logs Report
1. Certified Logs Report Filters
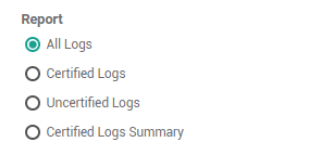
1.1 Choose the type of Report you want to view.
1.2 Click on the All Drivers drop-down list.
1.3 Select the driver's name in the drop-down list. Drivers are grouped by their respective terminals. If a driver has an alias or Driver ID, it is shown before his/her name.
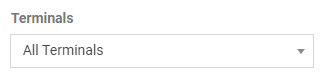
1.4 You can also click on the All Terminals drop-down list and select a terminal.
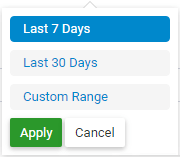
1.5 Click on the Date Picker.

1.6 Select the date range for the report you want to generate.
2. Certified Logs
2.1 If Certified Logs Report is selected, the drivers' certified logs are shown below.
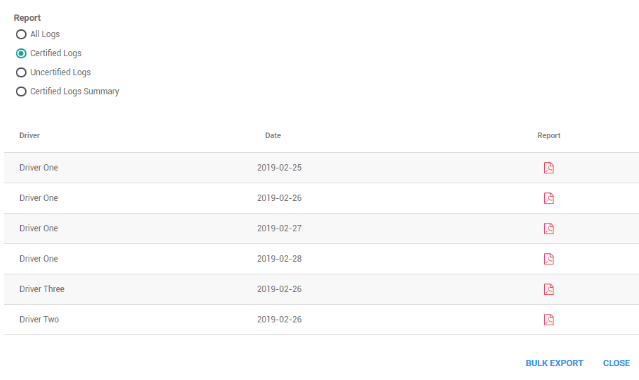
2.2 You can download each of the available certified logs individually by clicking on the PDF icon in each row or download a zip file containing all the available certified logs based on the date range by clicking on the Bulk Export button.

2.3 If Uncertified Logs Report is selected, the drivers’ uncertified logs are shown below.
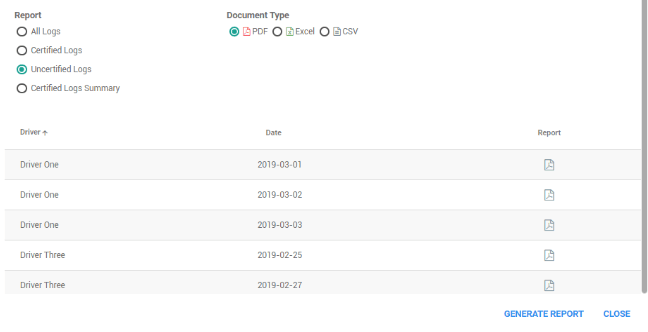
2.4 Select a document type and click on the Generate Report button to generate the uncertified logs report based on the selected filters.

3. Certified Logs Summary Report Output Format
3.1 If Certified Logs Summary Report is selected. Choose the file format of the output file.
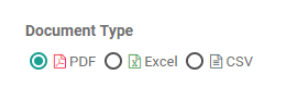
4. Click the Generate Summary button.

Documents Report
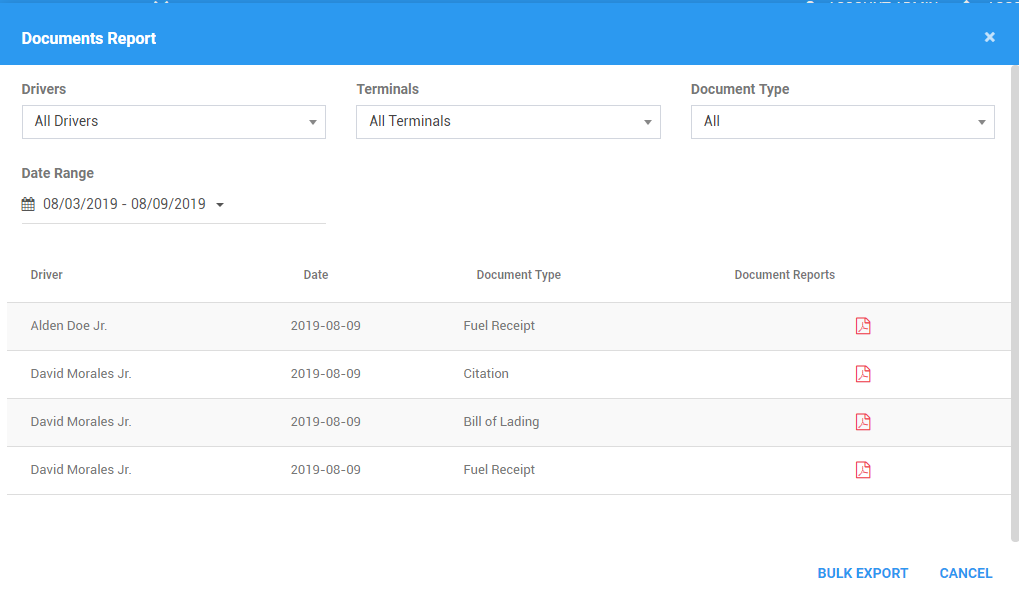
1. Documents Filters
1.1 Click on the All Drivers drop-down list.

1.2 Select the driver's name in the drop-down list. Drivers are grouped by their respective terminals. If a driver has an alias or Driver ID, it is shown before his/her name.
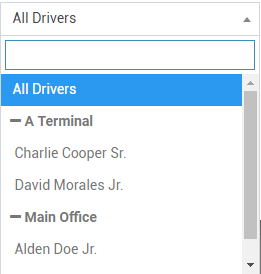
1.3 Click on the All Terminals drop-down list.
1.4 Select a terminal for the report you want to generate.
1.5 Click on Document Type drop-down list.
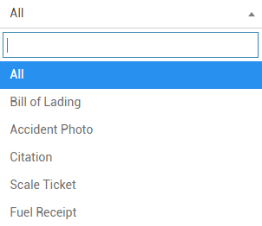
1.6 Select a document type for the report you want to generate.
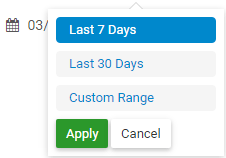
1.7 Click on the Date Picker.

1.8 Select the date range for the report you want to generate.
1.9 You can download each of the available documents report individually by clicking on the PDF icon in each row or download a zip file containing all the available documents report based on the date range by clicking on the Bulk Export button.
Driver and Vehicle Information Report
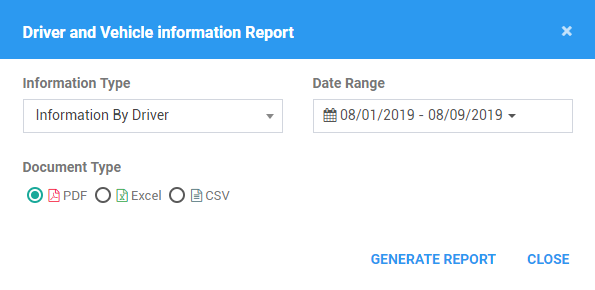
1. Driver and Vehicle Information Filters
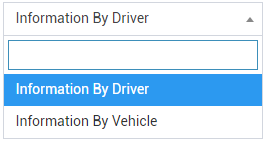
1.1 Click on the Information Type filter.
1.2 Select an information type you want to generate.
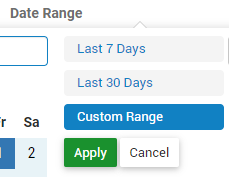
1.3 Click on the Date Picker.
1.4 Select the date range for the report you want to generate.
2. Driver and Vehicle Information Report Format
2.1 Choose the file format of the output file.
3. Click on the Generate Report button to generate the driver and vehicle information report based on the selected filters.
Choose the file format of the output file.
Multiple Driver Logs Report
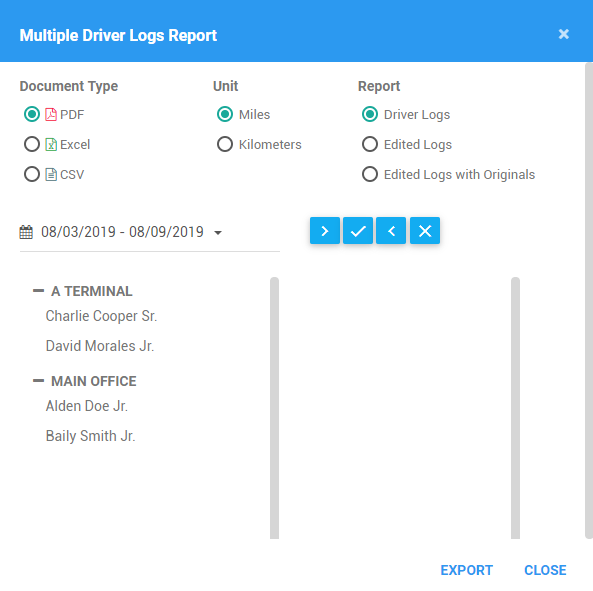
1. Multiple Driver Logs Filters
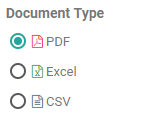
1.1 Choose the file format of the output file.
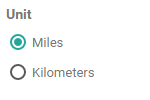
1.2 Choose the unit of measurement in the output file.
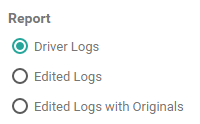
1.3 Choose the type of report you want to generate.
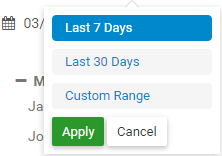
1.4 Click on the Date Picker.

1.5 Select the date range for the report you want to generate.
1.6 Select the Driver you want to add to the report from the list on the left. You can remove drivers that have been added by selecting from the list on the right.
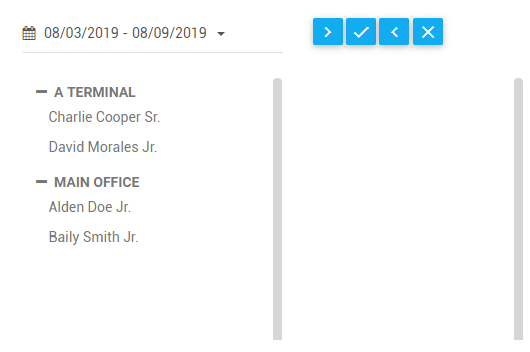
1.7 After Selecting a driver. Click on the following action buttons

Add the selected driver. Transfer from the left list to list on the right.

Add all drivers. Transfer all in the left list to the list on the right.
Remove the selected driver. Transfer from the left list to list on the right.
Remove all drivers. Transfer all in the right list to the list on the remove.
2. Click the Export button.
Driver’s Timecard Report
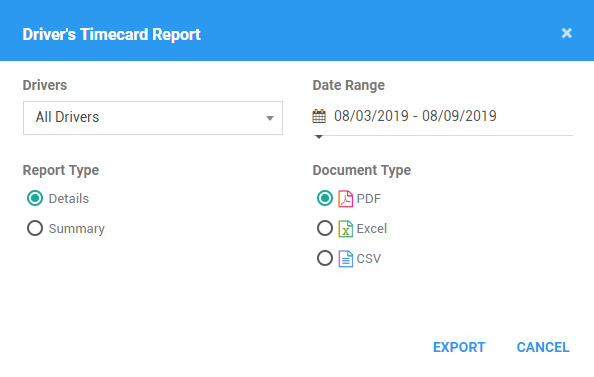
1. Driver’s Timecard Filters
1.1 Click on the All Drivers drop-down list.
1.2 Select the driver's name in the drop-down list. Drivers are grouped by their respective terminals. If a driver has an alias or Driver ID, it is shown before his/her name.
1.3 Click on the Date Picker.
1.4 Select the date range for the report you want to generate.
2. Driver’s Timecard Report Type
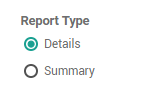
2.1 If the Details report type is selected, the driver’s timecard details report will be generated.
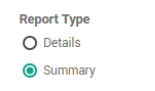
2.2 If the Summary report type is selected, the driver’s timecard summary report will be generated.
3. Driver’s Timecard Report Format
Choose the file format of the output file.
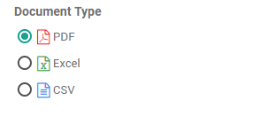
4. Click the Export button.
Choose the file format of the output file.
Drivers App Version Report
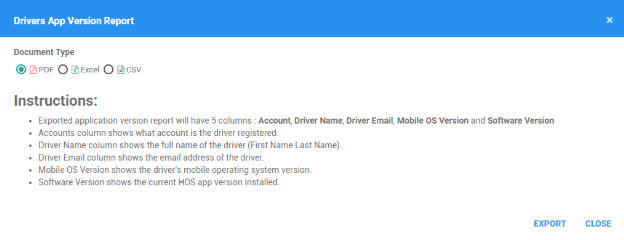
1. Drivers App Version Report Format
1.1 Choose the file format of the output file.
1.2 Click the Export button.
Driving an Open Defect Report
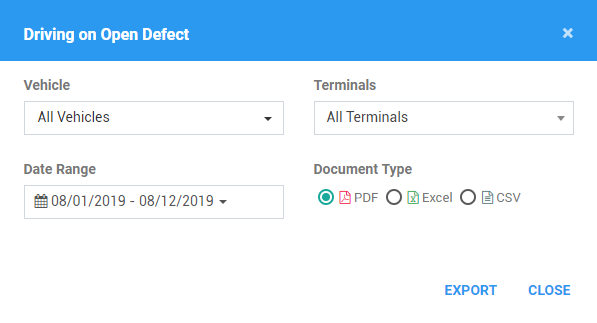
1. Driving on Open Defect Filters
1.1 Click on the All Vehicles drop-down list.
1.2 Select at least 1 or more Vehicles in the drop-down list.
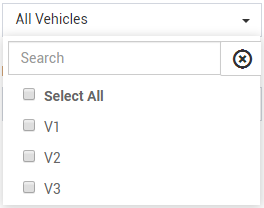
1.3 Click on the All Terminals drop-down list.
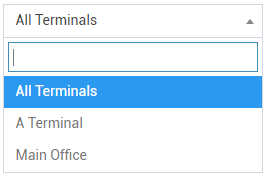
1.4 Select a terminal for the report you want to generate.
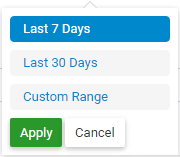
1.5 Click on the Date Picker

1.6 Select the date range for the report you want to generate.
2. Driving on Open Defect Report Output Format
Choose the file format of the output file.
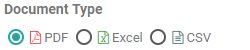
3. Click the Export button.
Driving Without DVIR Report
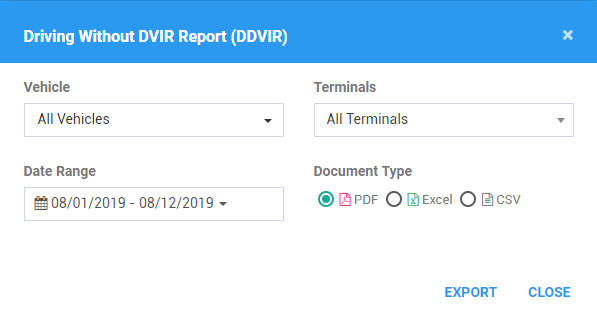
1. Driving Without DVIR Filters
1.1 Click on the All Vehicles drop-down list.
1.2 Select at least 1 or more Vehicles in the drop-down list.
1.3 Click on the All Terminals drop-down list.
1.4 Select a terminal for the report you want to generate.
1.5 Click on the Date Picker
1.6 Select the date range for the report you want to generate.
2. Driving Without DVIR Report Output Format
Choose the file format of the output file.
3. Click the Export button.
Edit Logs Report
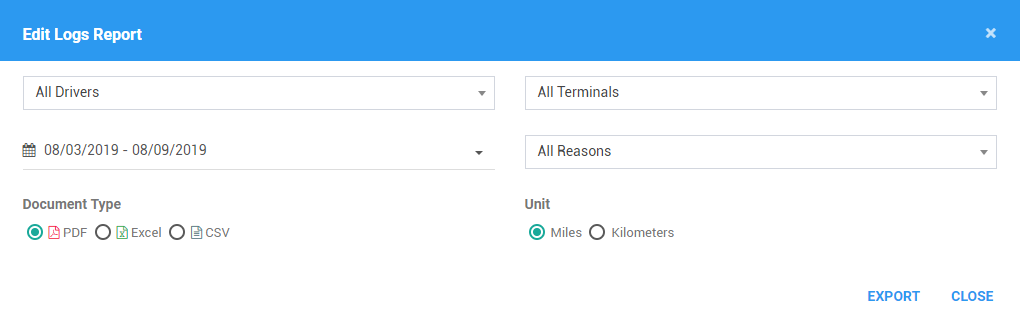
1. Edit Logs Filters
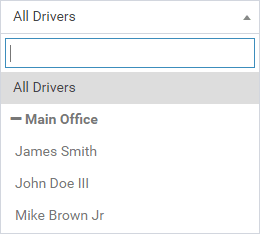
1.1 Click on the All Drivers drop-down list.
1.2 Select the driver's name in the drop-down list. Active Drivers (default), Inactive Drivers or All Driver Status.
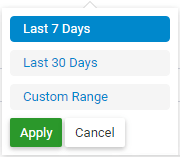
1.3 Click on the Date Picker.

1.4 Select the date range for the report you want to generate.
1.5 Click on the All Terminals drop-down list.
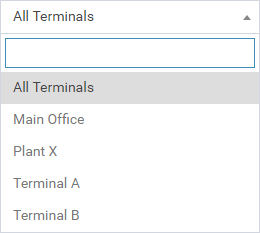
1.6 Select a terminal for the report you want to generate.
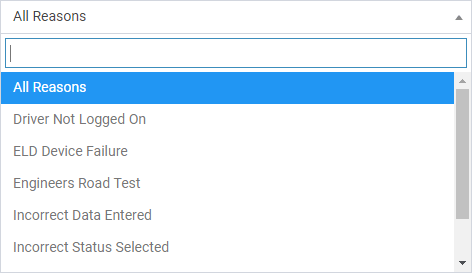
1.7 Click on the All Reasons filter.

1.8 Select the Reason Code for the edit logs you want to generate.
2. Edit Logs Report Output Format
2.1 Choose the file format of the output file.
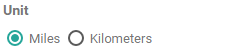
2.2 Choose the unit of measurement in the output file.
3. Click the Export button.
Hours and Miles Report
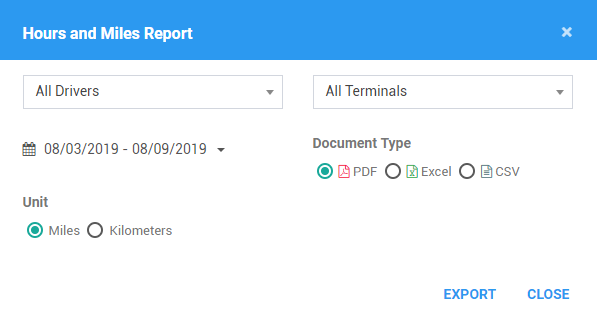
1. Hours and Miles Report Filters
1.1 Click on the All Drivers drop-down list.
1.2 Select the driver's name in the drop-down list. Drivers are grouped by their respective terminals. If a driver has an alias or Driver ID, it is shown before his/her name.
1.3 Click on the All Terminals drop-down list.
1.4 Select a terminal for the report you want to generate.
1.5 Click on the Date Picker.
1.6 Select the date range for the report you want to generate.
2. Hours and Miles Report Output Format
2.1 Choose the file format of the output file.
2.2 Choose the unit of measurement in the output file.
3. Click the Export button.
Hours Worked Report
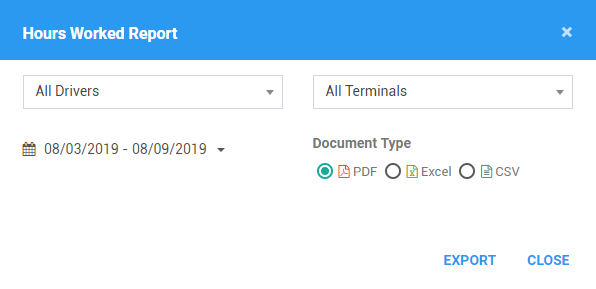
1. Hours Worked Filters
1.1 Click on the All Drivers drop-down list.
1.2 Select the driver's name in the drop-down list. Drivers are grouped by their respective terminals. If a driver has an alias or Driver ID, it is shown before his/her name.
1.3 Click on the Date Picker.

1.4 Select the date range for the report you want to generate.
1.5 Click on the All Terminals drop-down list.
1.6 Select a terminal for the report you want to generate.
2. Hours Worked Report Output Format
Choose the file format of the output file.
3. Click the Export button.
Invalid Data Report
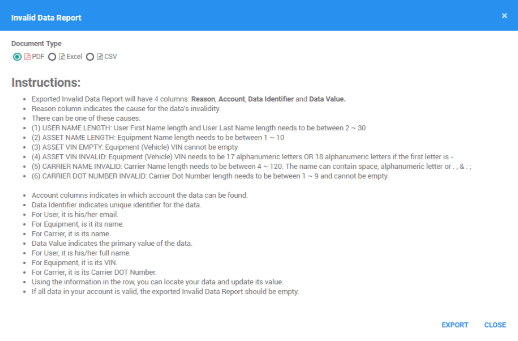
1. Invalid Data Report Format
1.1 Choose the file format of the output file.
1.2 Click the Export button.
Raw Punch Report
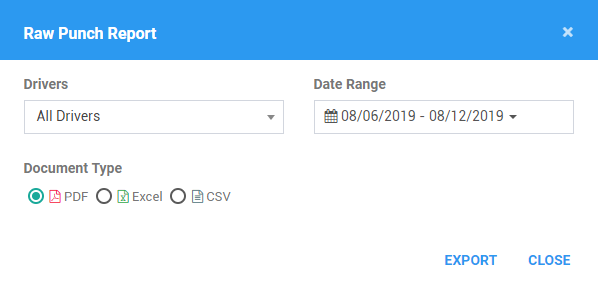
1. Raw Punch Filters
1.1 Click on the All Drivers drop-down list.
1.2 Select the driver's name in the drop-down list. Drivers are grouped by their respective terminals. If a driver has an alias or Driver ID, it is shown before his/her name.
1.3 Click on the Date Picker
1.4 Select the date range for the report you want to generate.
2. Raw Punch Report Output Format
Choose the file format of the output file.
3. Click the Export button.
Special Moves Report
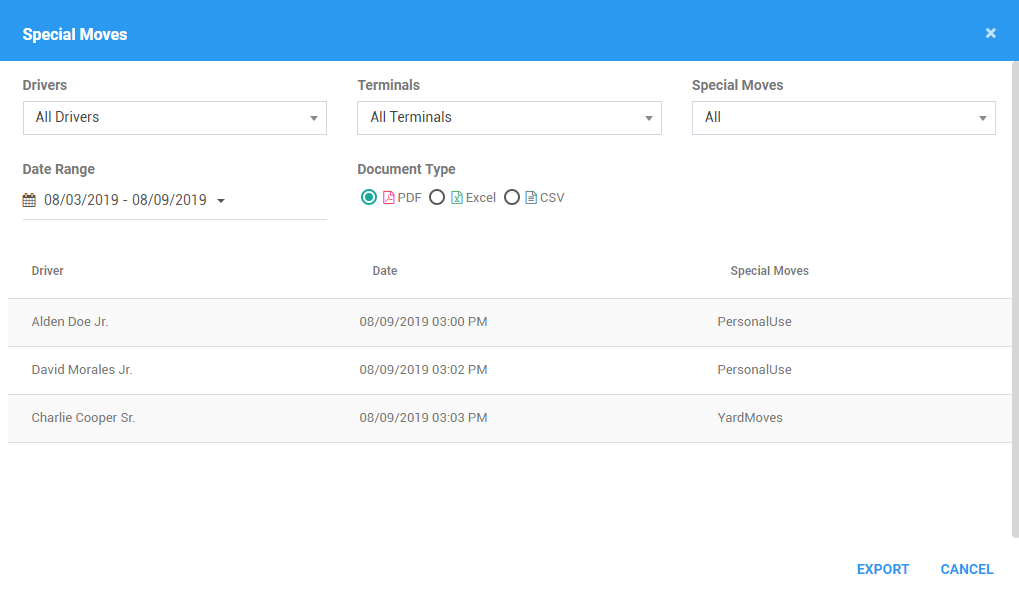
1. Special Moves Filters
1.1 Click on the All Drivers drop-down list.
1.2 Select the driver's name in the drop-down list. Drivers are grouped by their respective terminals. If a driver has an alias or Driver ID, it is shown before his/her name.
1.3 Click on the All Terminals drop-down list.
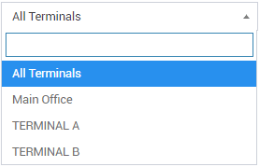
1.4 Select a terminal for the report you want to generate.
1.5 Click on the Date Picker.
1.6 Select the date range for the report you want to generate.
1.7 Click on the Special Moves drop-down list.
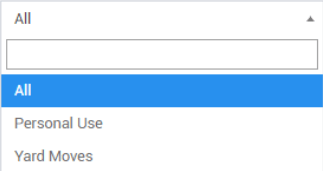
1.8 Select a ‘Special Moves’ type for the report you want to generate.
2. Special Moves Report Format
Choose the file format of the output file.
3. Click the Export button.
Usage Report
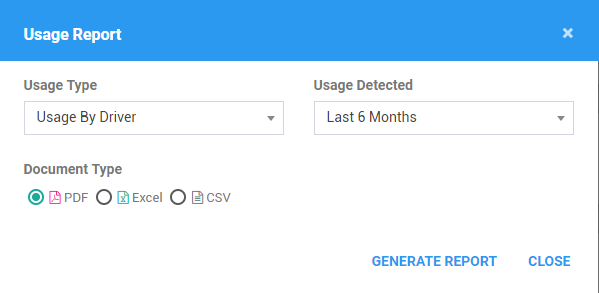
1. Usage Filters
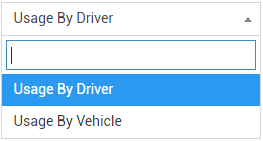
1.1 Click on the Usage Type drop-down list.
1.2 Select the usage type for the report you want to generate.
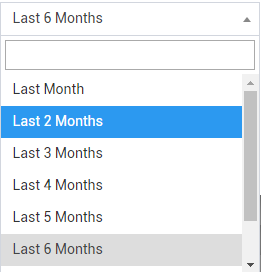
1.3 Click on the Usage Detected drop-down list.
1.4 Select a time period for the report you want to generate.
2. Usage Report Output Format
Choose the file format of the output file.
3. Click the Export button.
Was this article helpful?
That’s Great!
Thank you for your feedback
Sorry! We couldn't be helpful
Thank you for your feedback
Feedback sent
We appreciate your effort and will try to fix the article