The Drivers page provides the ability to easily manage all drivers and provide information for any given driver's current or last recorded status, location and available Hours of Service time through the web portal. The drivers page only shows drivers that have logged in to the application at least once.
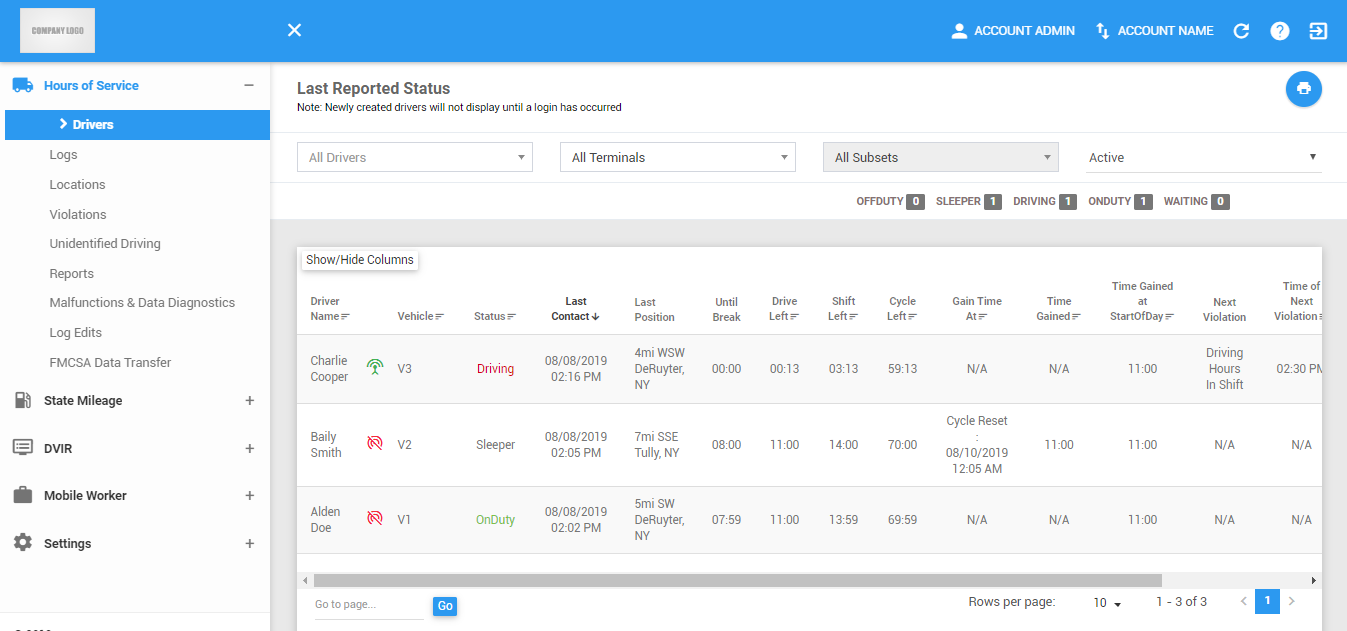
The Drivers page can be manually refreshed using the Refresh button within the site header.

Printing a Report of the Drivers table
Click on the Export button to generate a report of the current accounts you have access to.

The Export File dialog will then appear.
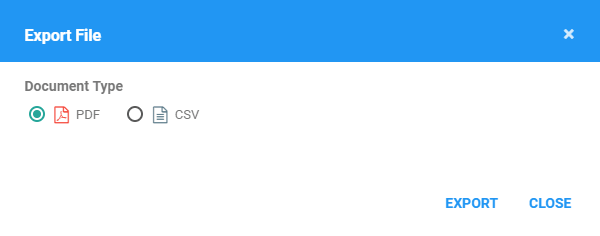
Select a document type and click Export button to print a report of the statuses.
The report will be saved as a PDF file when you selected PDF, and as a CSV file when you selected CSV. Click here for a sample PDF report.
Filtering the Drivers table
1. Filter by Driver
1.1 Click on the All Drivers drop-down list.

1.2 Select the driver's name in the drop-down list. Drivers are grouped by their respective terminals. If a driver has an alias or Driver ID, it is shown before his/her name.
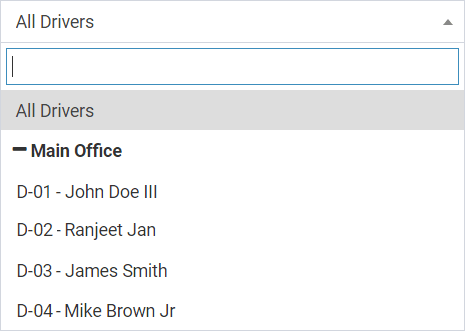
1.3 The Drivers table will then be updated to only show the specific results which fall under the applied filter.
2. Filter by Terminal
2.1 Click on the All Terminals drop-down list.

2.2 Select the terminal's name in the drop-down list.
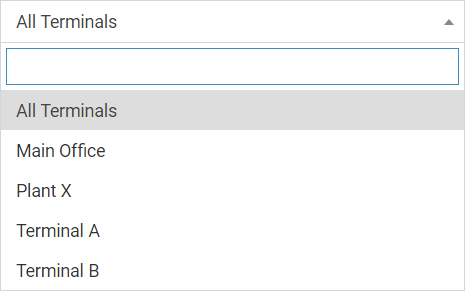
2.3 The Drivers table will then be updated to only show the specific results which fall under the applied filter.
3. Filter by Subset
3.1 Click on the All Subsets drop-down list. Subsets filter is only enabled once a terminal is selected.

3.2 Select the subset in the drop-down list.
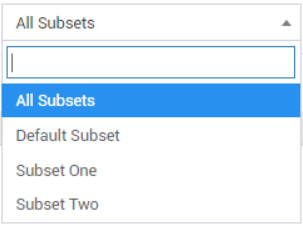
3.3 The Drivers table will then be updated to only show the specific results which fall under the applied filter.
4. Filter by Active/Inactive
4.1 Click on the Active drop-down list.

4.2 Select Active, Inactive or All in the drop-down list.
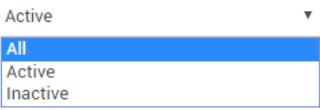
4.3 The Drivers table will then be updated to only show the specific results which fall under the applied filter.
5. Enable Filter by Driver ID
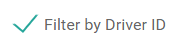
5.1 When an account has drivers with Driver IDs, this option will be available and checked by default. When this option is not available or is unchecked, the Select Drivers drop-down list will show all drivers.
5.2 Click on the Filter by Driver ID option to toggle the list into the driver IDs.
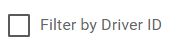
5.3 The Select Drivers drop-down list will then be updated to show the driver IDs and names of the drivers with aliases.
Drivers Status Counter
The following indicates the total number of statuses for all drivers:

Drivers table
1. Sorting Driver records
1.1 The records can be sorted by the following fields
- Driver
- Vehicle
- Status
- Last Contact
- Drive Left
- Shift Left
- Cycle Left
- Gain Time At
- Time Gained
- Time Gained at StartOfDay
- Time to Next Violation
- Uncertified Logs
1.2 Click the column header title in order to sort the records either in ascending or descending order.

1.3 The Drivers table will then be updated with the records sorted according to the column header that was clicked.
2. ELD Connection Indicator
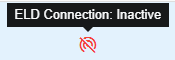
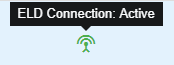
2.1 Hover over the antenna and disabled antenna icons.
2.2 Red disabled antenna icon indicates that the ELD Connection for this status is Inactive.
2.3 Green antenna icon indicates that the ELD Connection for this status is Active.
3. Displaying the Driver Logs
3.1 Hover over a driver’s row until it displays a tooltip.

3.2 Click on the row. You will then be redirected to the Logs page of the driver’s latest logs.
4. Displaying the Violations
4.1 Hover over a violation to display the violation code within a tooltip.

4.2 Click on the violation. The Violations pop-up dialog will then appear.
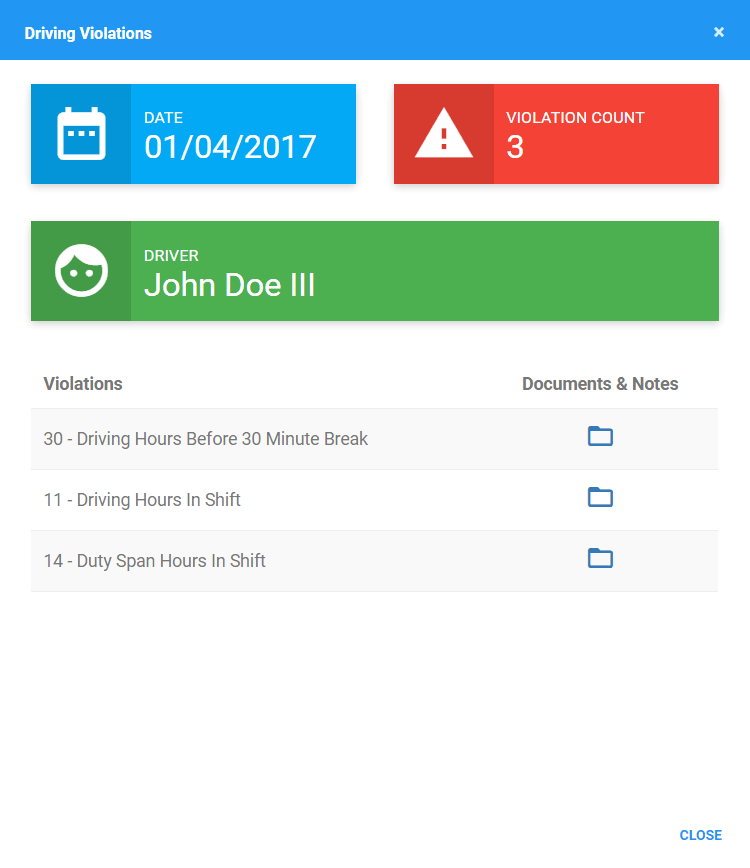
4.3 Click on the Folder icon of a specific violation to upload a open PDF and notes available on the selected violation.

4.4 After clicking the folder, a pop-out dialog will then appear, that let’s you upload pdf files for the selected violation. Click Add Document button.
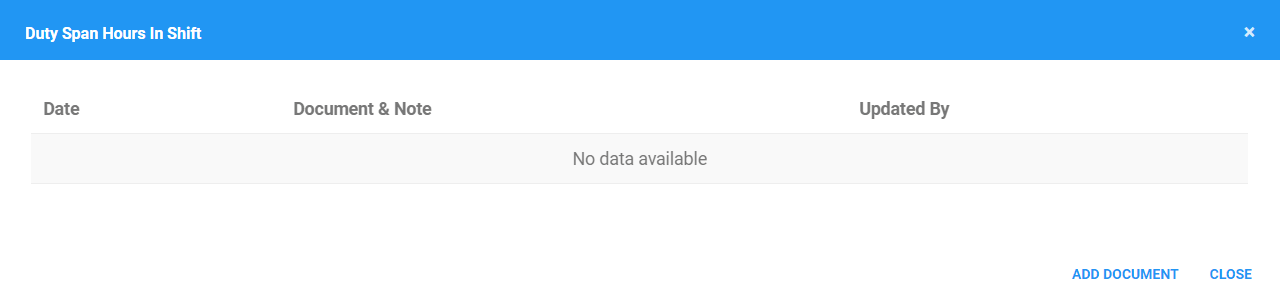
4.5 The File Upload dialog will appear. Choose a file to upload. You can also add a note for the file that will be uploaded.
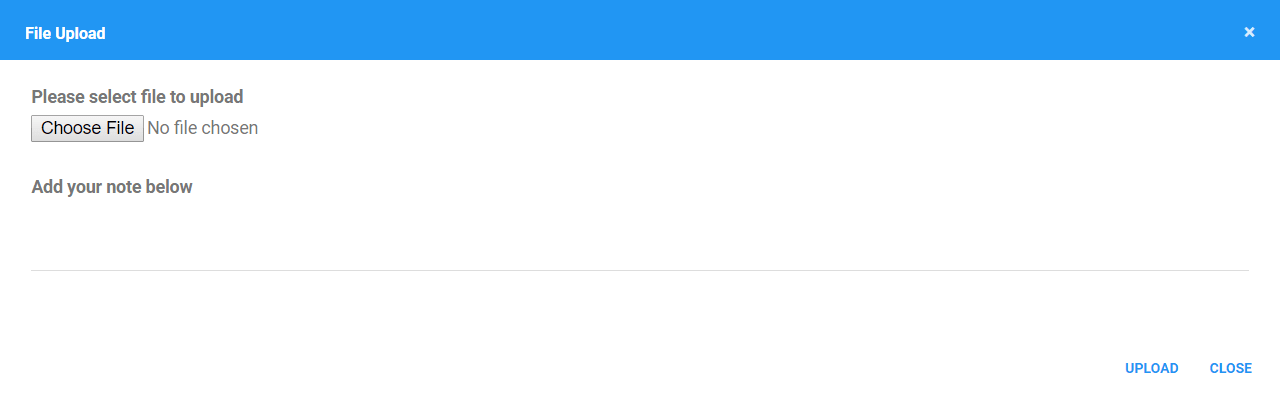
4.6 Click the Upload button.

To obtain a copy of the Driver Violation Action Report form, you can click on the Acknowledge Form button which can be found on the Violations page.

5. Hide/Show and Reorder table columns
5.1 Click on the Show/Hide Columns button on the header part of the table

5.2 The Show/Hide Columns dialog will appear showing the list of all the table columns.
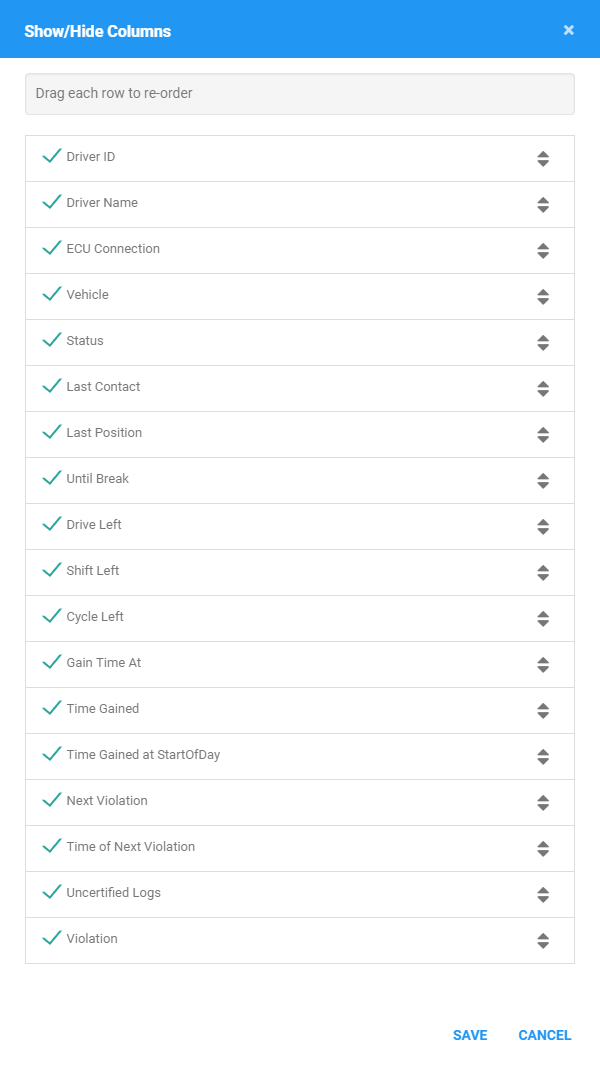
5.3 Check or uncheck columns that you want to be shown or hidden.
5.4 Drag and drop the columns to a certain position you want to reorder it.
5.5 Click on the Save button
5.6 The settings will then take effect on the Drivers table
6. Drivers Pagination
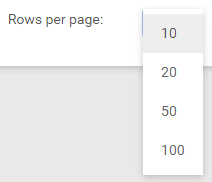
6.1 The table only shows the first 10 drivers according to the sorted column, and the rest will be on different pages.

6.2 Click and choose from the dropdown to change the number of records to be displayed per page.
6.3 Click on the navigation buttons below the table to jump to a specific page.
6.4 Enter a page number and Click Go to jump directly to a specific page.

Was this article helpful?
That’s Great!
Thank you for your feedback
Sorry! We couldn't be helpful
Thank you for your feedback
Feedback sent
We appreciate your effort and will try to fix the article