The Drivers Page shows the list of all Drivers in a specific account. A driver refers to a driver specifically for Hours of Service Feature. Each driver has its own email and password for logging in to the Hours of Service mobile application.
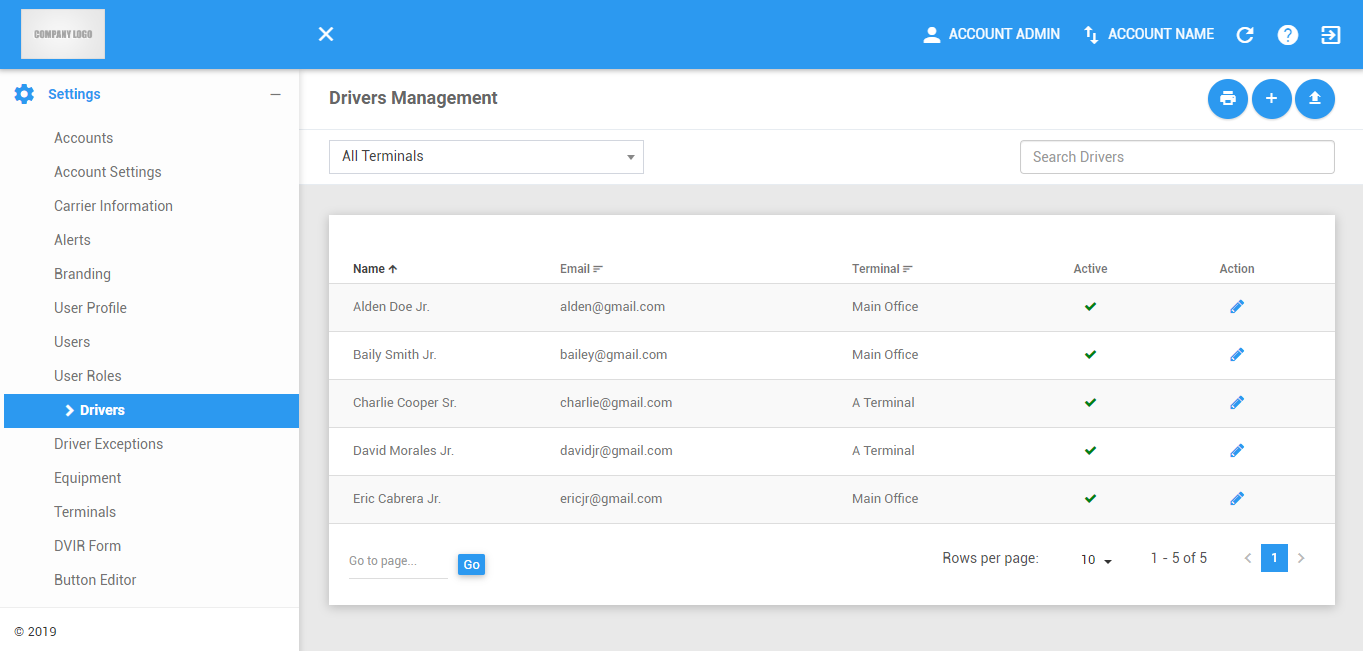
The Drivers page can be manually refreshed using the Refresh button within the site header.

Driver Management Actions
1. Exporting Drivers
1.1 Click on the Export button to generate a report of the current drivers you have access to.

1.2 The Export File dialog will then appear.
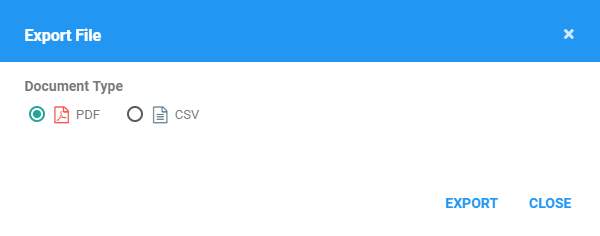
1.3 Select a document type and click Export button to print a report of the drivers
1.4 The report will be saved as a PDF file when you selected PDF, and as a CSV file when you selected CSV. Click here for a sample PDF report.
2. Creating a Driver
2.1 Click on the Driver button.

2.2 The Create Driver dialog will then appear
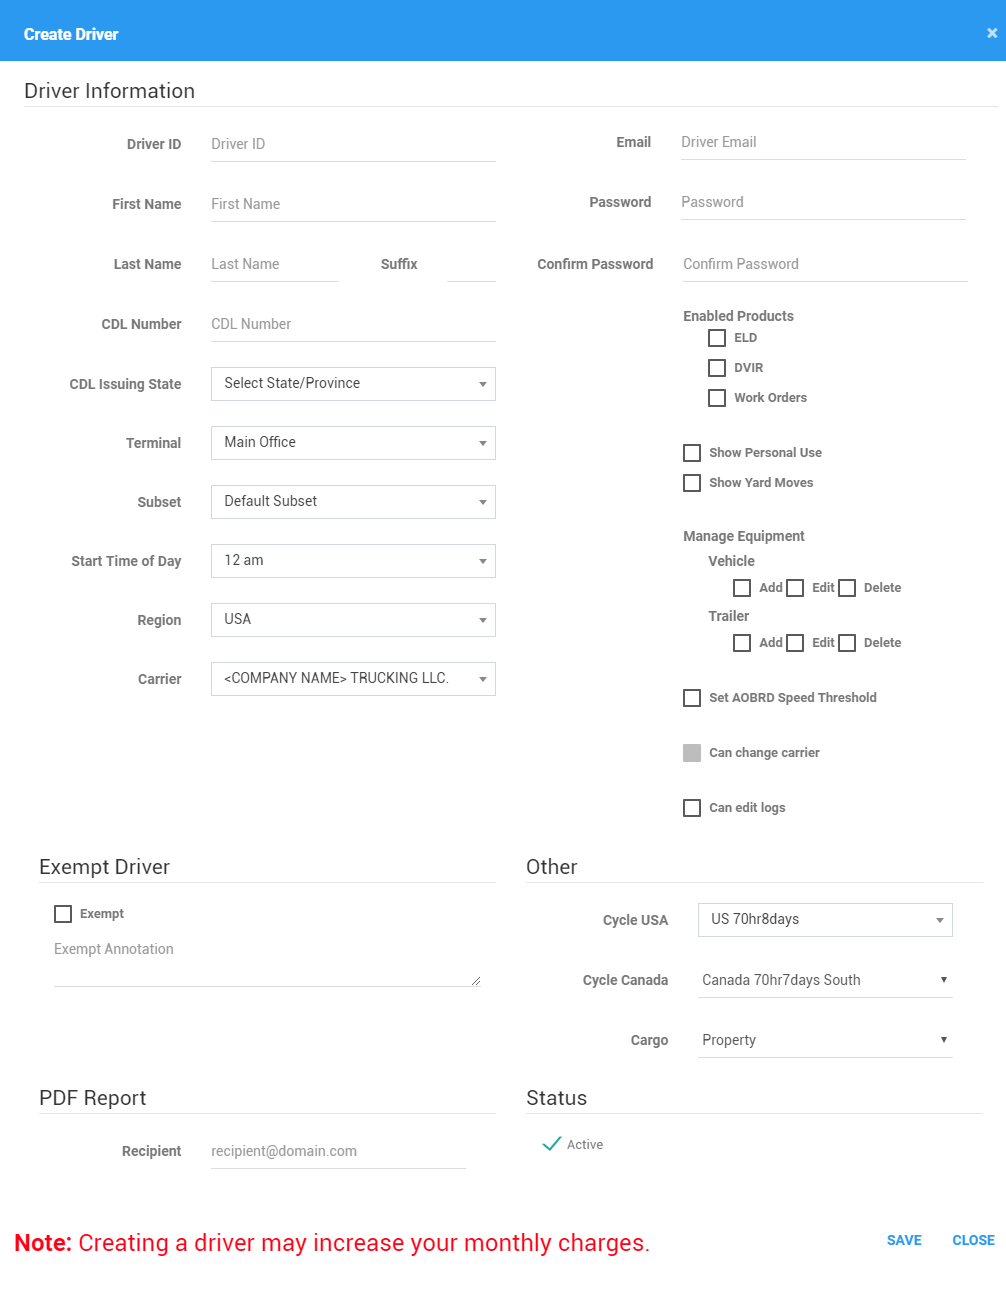
2.3 Fill in / Select the Driver Information details.
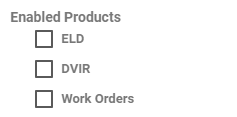
Check the ELD, DVIR, Work Orders options. Only the enabled features will be available when driver logged into the mobile application.
Note: Only product(s) enabled in account level will be shown on the driver settings level.
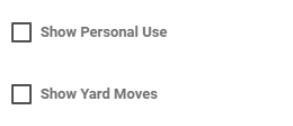
Check the “Show Personal Use” option for the driver be able to see the personal use option on the app.
Check the “Show Yard Moves” option for the driver be able to view yard move on the app.
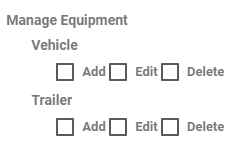
Check the Vehicle Add, Edit and Delete options for the driver to be able to add, edit, delete a vehicle or trailer on the app.
Note: Allow drivers to manage equipment is only enable if ‘Allow drivers to manage equipment’ is enabled in Account Settings.
Check the “Set AOBRD Speed Threshold” option for the driver to be able to set Speed Threshold in AOBRD Regulation Mode.

Check the “Allow Carrier Change” option for the driver to be able to change carrier information.

Check the “Allow ability to edit logs” option for the driver to be able to edit logs

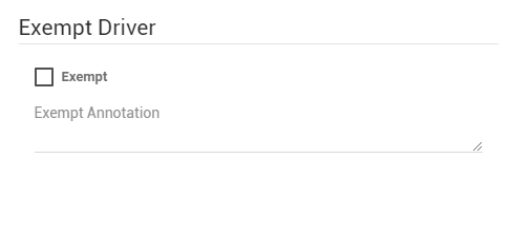
2.3 Check on the Exempt Driver option and the annotation to exempt the driver on the violations.
2.4 Select a Cycle USA, a Cycle Canada and a Cargo inside the Other panel.
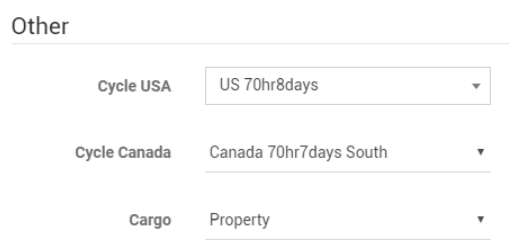
Note: Intrastate cycles are also available in the list for the USA Cycle.
2.5 FIll in an email address for a recipient of the driver’s PDF report.
2.6 You can set a driver as Active or Inactive by checking or unchecking the Active status. It is checked by default.
2.7 Click the Save button to successfully add the driver. Click the X button of the modal to cancel the creation.

3. Uploading CSV for Bulk Drivers
3.1 Click on the Upload CSV button.

3.2 The Upload CSV dialog will then appear.
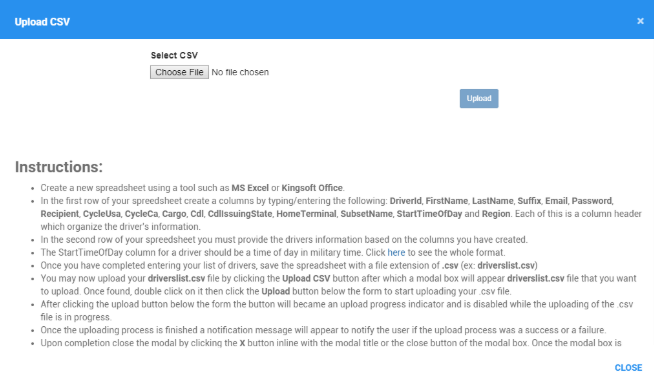
3.3 Browse for your CSV file and click Upload button.
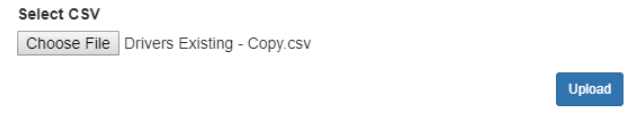
3.4 A success message will then appear if the upload is successful.
3.4.1 If uploading new driver(s), a success message will display the numbers of driver(s) that has been successfully added.

3.4.2 If uploading existing driver(s) with updates, a success message will display the number of driver(s) that has been successfully updated.

3.5 Otherwise an error message will appear.
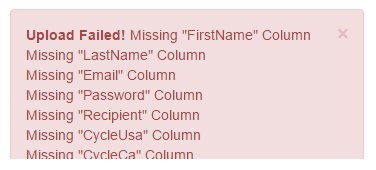
3.6 Click on the X button of the modal to close the dialog after uploading or to cancel the CSV upload.
4. Filter By Terminal
4.1 Select a Terminal in the drop-down list.

4.2 The Drivers Management table will then be updated to only show the driver/s with the specified Terminal.
5. Searching Drivers
5.1 Type the First Name of the Driver in the Search text field.

5.2 The Drivers table will then be updated to only show the driver/s with the specified first name.
Drivers Table
1. Editing a Driver
1.1 Click on the Edit icon of a specific driver.

1.2 The Edit Driver dialog will then appear.
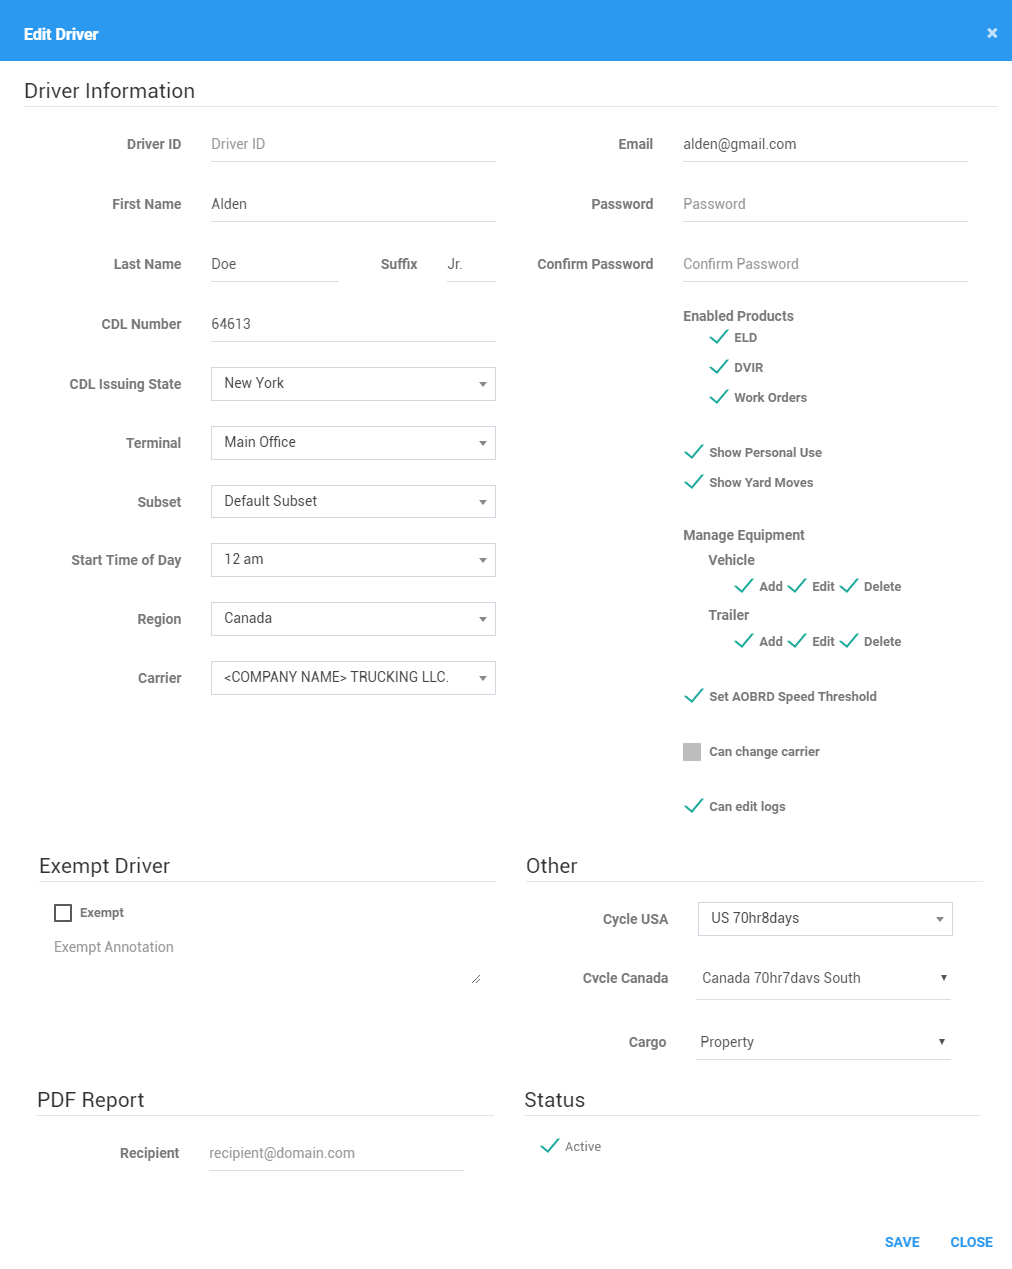
1.3 Fill in / Select the driver details as you would in creating a driver.
1.4 Click the Save button to successfully save the driver. Click the X button of the modal to cancel the edit.

2. Deactivating a driver account
2.1 Click on the Edit icon of a particular account.
2.2 Uncheck the Deactivate checkbox.
2.3 Click on the Save button to proceed on deactivating the driver’s account. You can also click on the Close button to cancel the updates made.
2.4 The driver’s account is successfully deactivated.

3. Deleting an Account
3.1 Click on the Edit icon of of a deactivated account.
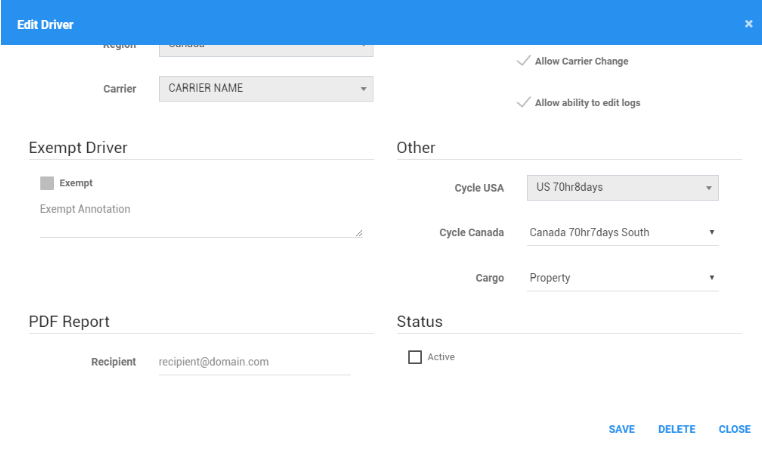
3.2 Click on the Delete button.
Note: Delete button is only available for the deactivated account.
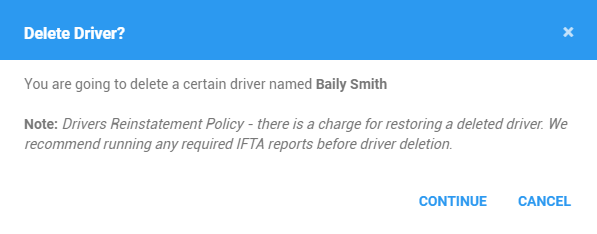
3.3 Click on Continue button to confirm the deletion of the driver’s account. Click Cancel to Cancel deleting the account.
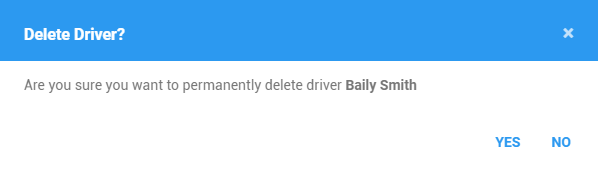
3.4 Click on Yes button to delete the account on another dialog prompted. You can also click on the No button to cancel deleting the account.
4. Drivers Pagination
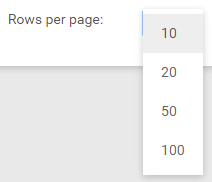
4.1 The table only shows the first 10 drivers according to the sorted column, and the rest will be on different pages.

4.2 Click and choose from the dropdown to change the number of records to be displayed per page.
4.3 Click on the navigation buttons below the table to jump to a specific page.
4.4 Enter a page number and Click Go to jump directly to a specific page.

Was this article helpful?
That’s Great!
Thank you for your feedback
Sorry! We couldn't be helpful
Thank you for your feedback
Feedback sent
We appreciate your effort and will try to fix the article