The Accounts Page is where the user can add an account to be used on the portal. Editing and Deleting of accounts can be performed here as well. Active Drivers column shows the number of active drivers the account have. Active Vehicles column shows the number of active vehicles the account have. Deactivated column shows which account has been deactivated.
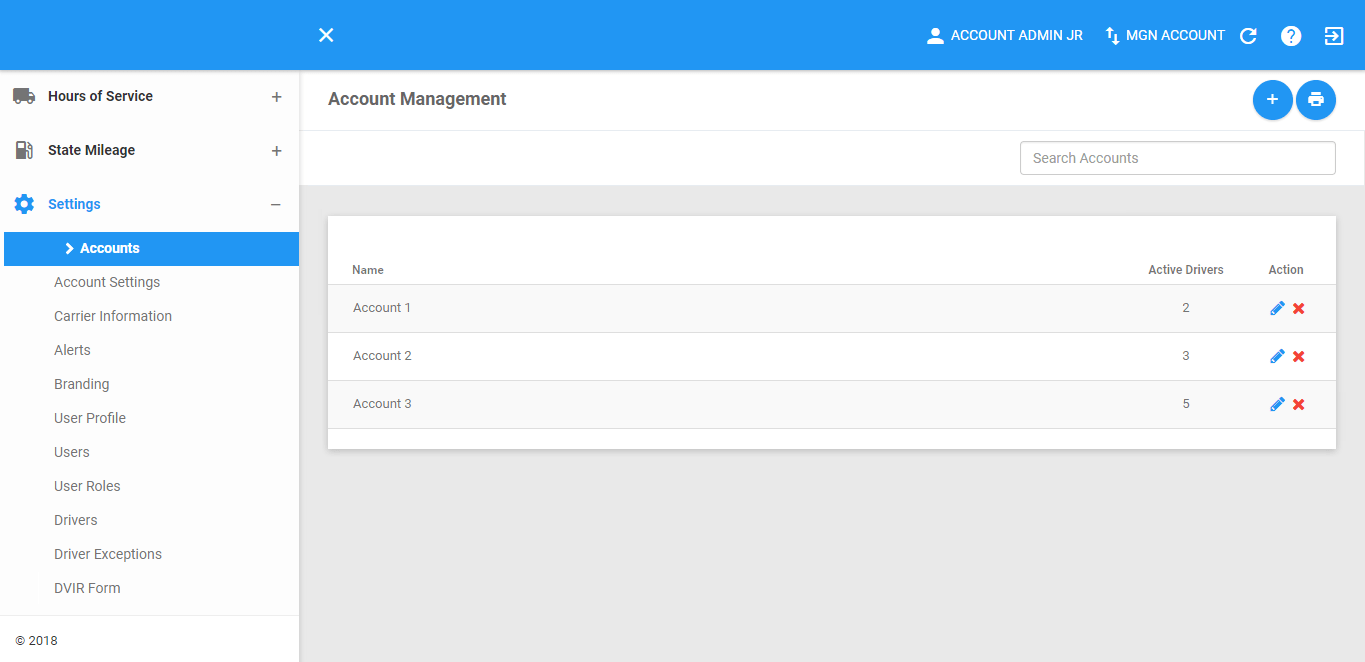
The Accounts page can be manually refreshed using the Refresh button within the site header.

Creating New Account
You can add accounts using the New Account button. The newly created account will then be added to the table.
1. Click on the New Account button.

2. The Add Account dialog will then be shown.
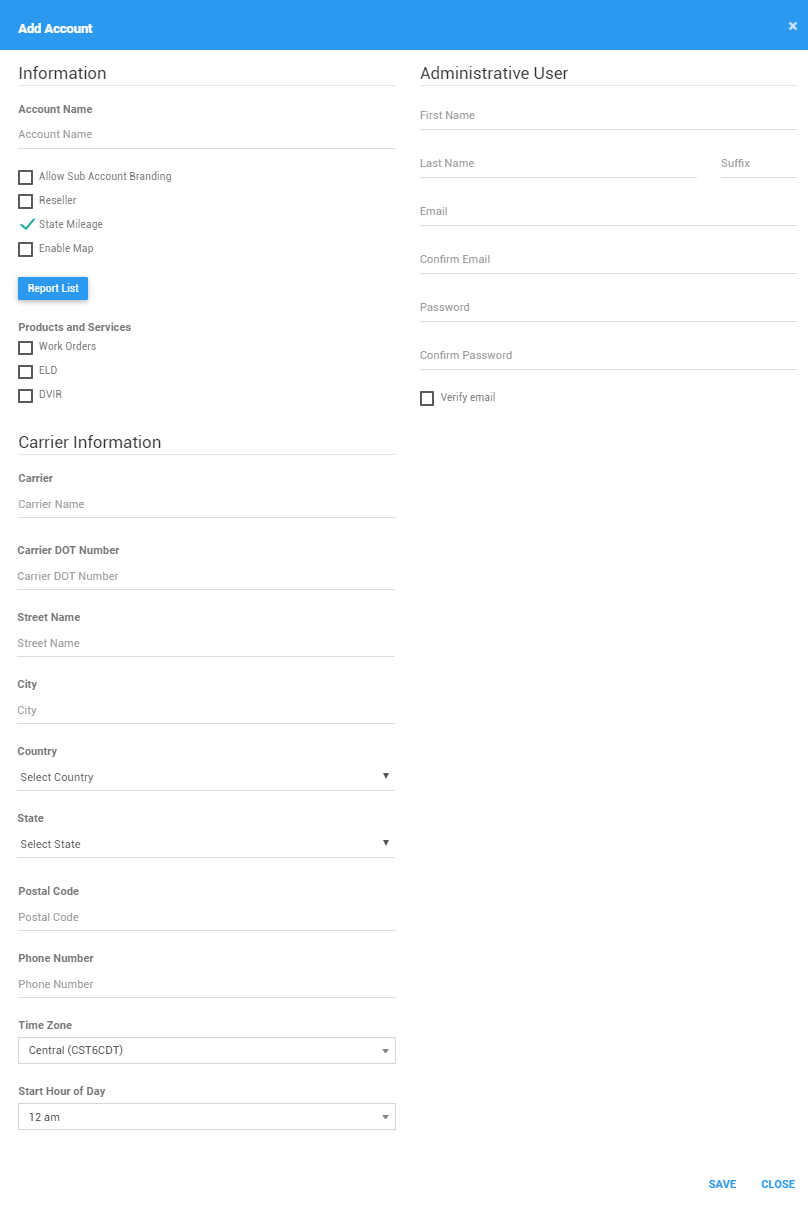
3. Type the Name of the new account.
4. Check options:
4.1 Enable or disable sub-account branding
4.2 Enable if the account is a reseller. This would enable some of the pages. The following pages will be displayed once user’s account is a reseller:
Button Editor
Equipment
Terminals
4.3 If the account created is a reseller, another checkbox will appear below it. Enable if the account is allowed to create a reseller.

Also, a list of resellable services will be displayed above the Administrative User section. At least one of the resellable service must be enabled to create the account.
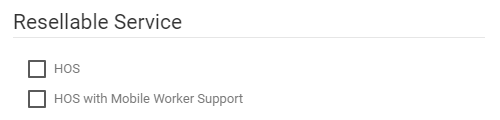
Select a resellable service that will be enabled. Enter the default rate of the account on the field next to the service name.
5. Enable if the account will have the State Mileage feature. This is enabled by default.
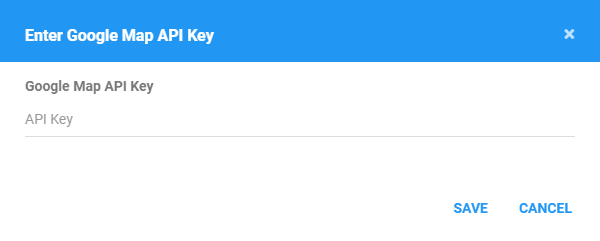
6. Enable the Maps checkbox if the account will have the Locations feature. This will then prompt the user to enter a Google MAP API Key
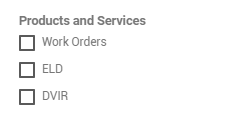
7. Select a product and services from the list of available products that are available to the account.
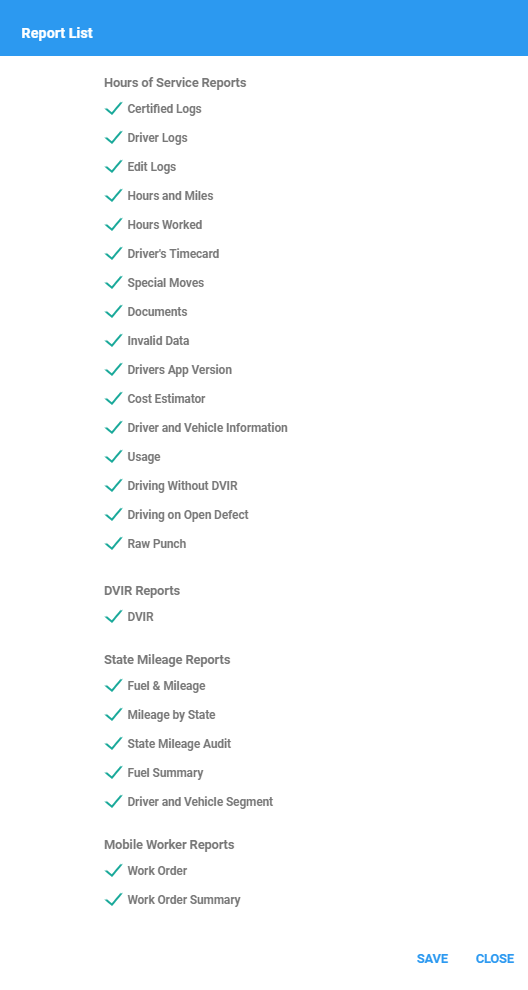
8. Click on the Report List button

9. The Report List dialog will then be shown. Check reports that you want to be available for the edited account and uncheck those that you want to be hidden.
10. Enter the details for the account’s Main Office Terminal.
11. Enter the details for an administrative user for the new account. This is optional.
12. Click on the Save button to save the Account. You can also click on the Close button to cancel adding the account.

Exporting Accounts
1. Click on the Export button to generate a report of the current accounts you have access to.

2. The Export File dialog will then appear.
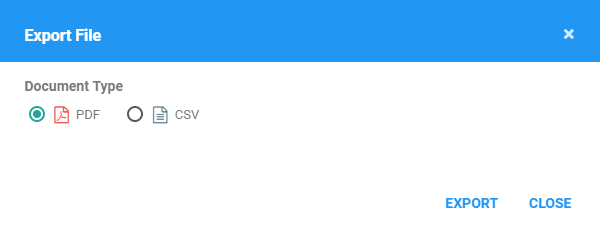
3. Select a document type and click Export button to print a report of the accounts
4. The report will be saved as a PDF file when you selected PDF, and as a CSV file when you selected CSV. Click here for a sample PDF report.
Searching Accounts
1. Type the Name of the Account in the Search text field.

2. The Accounts table will then be updated to only show the the account/s with the specified name.
Updating an Account
1. Click on the Edit icon of a particular account on the data table.

2. Update the fields for the account.
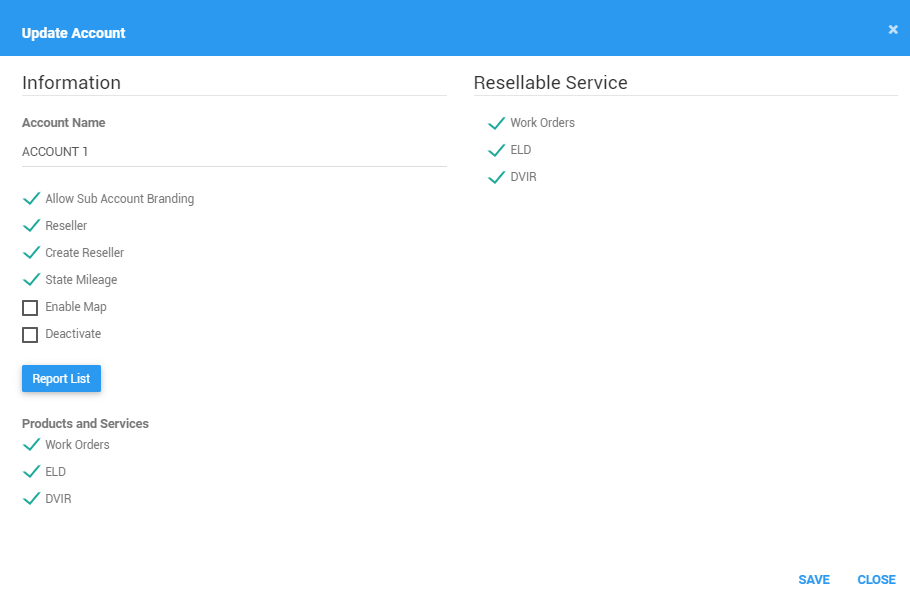
3. Click on the Save button to save the updates made to the account. You can also click on the Close button to cancel the updates made.

Deactivating an account
1. Click on the Edit icon of a particular account.
2. Uncheck the Deactivate checkbox.

3. Click on the Save button to proceed on deactivating the account. You can also click on the Close button to cancel the updates made.
4. The account is successfully deactivated.

Deleting an Account
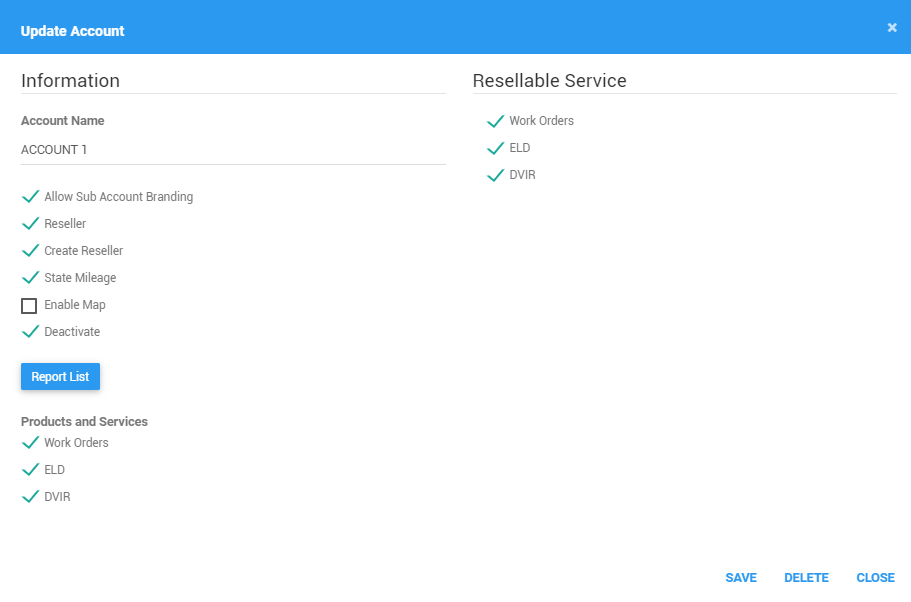
1. Click on the Edit icon of a deactivated account.
2. Click on Delete button.
Note: Delete button is only available for the deactivated account.
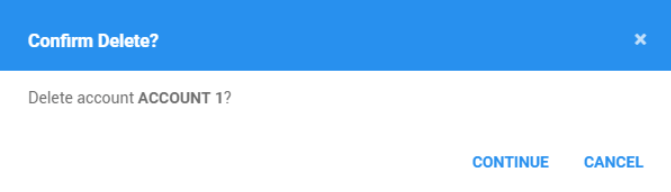
3. Click on Continue button to confirm deleting the account. Click Cancel to cancel deleting the account.
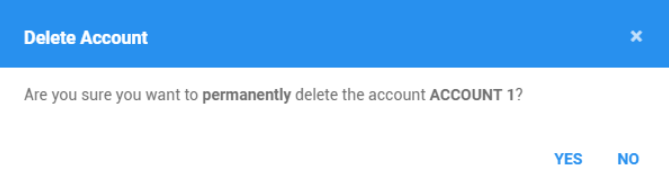
4. Click on Yes button to delete the account on another dialog prompted. You can also click on the No button to cancel deleting the account.
Was this article helpful?
That’s Great!
Thank you for your feedback
Sorry! We couldn't be helpful
Thank you for your feedback
Feedback sent
We appreciate your effort and will try to fix the article