The Account Settings Page is where you can configure the settings that affects your whole account.
Account Controls
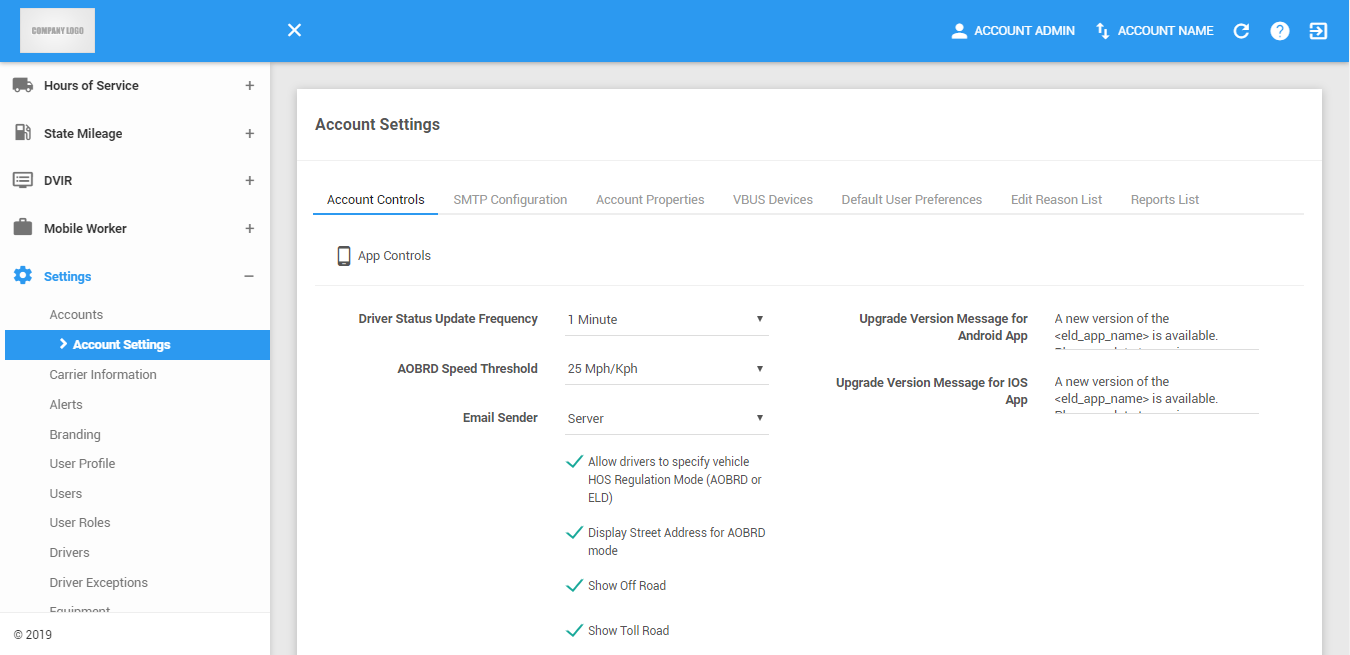
The Account Controls contains the App and Portal settings of the account.
1. Add New Properties
1.1 Select Driver Status update Frequency.

1.2 Select AOBRD Speed Threshold.

1.3 Select Email Sender.

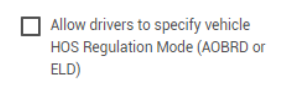
1.4 Drivers are also allowed to select HOS regulation mode per vehicle by enabling this option.
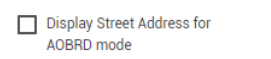
1.5 Display Street Address for AOBRD mode in the App.
1.6 Show Off Road option in the App.

1.7 Show Toll Road option in the App.

1.8 Upgrade Version Message for Android App.

1.9 Upgrade Version Message for IOS App.

2. Portal Controls
2.1 Select a Theme. This will be used by all users of the account who will login to the portal.

2.2 Select which mode to use when editing events on the logs page.

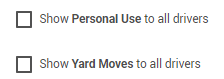
2.3 Check these checkboxes for Personal Use and Yard Moves.
Check the Show Personal Use to make Personal Use checkbox appear to app when adding and editing log events.
Check the Show Yard Moves to make Yard Moves checkbox appear to app when adding and editing log events.
2.4 New drivers are automatically set as asset admins by default.

2.5 New drivers are allowed to delete an equipment.

2.6 Drivers are also allowed to update the Carrier Information in the app by enabling this option.

2.7 Check the Show DVIR in Certified Logs to show DVIR report in the certified logs report.

3. Click the Save button to successfully save the carrier information details.

SMTP Configuration (Email Configuration)
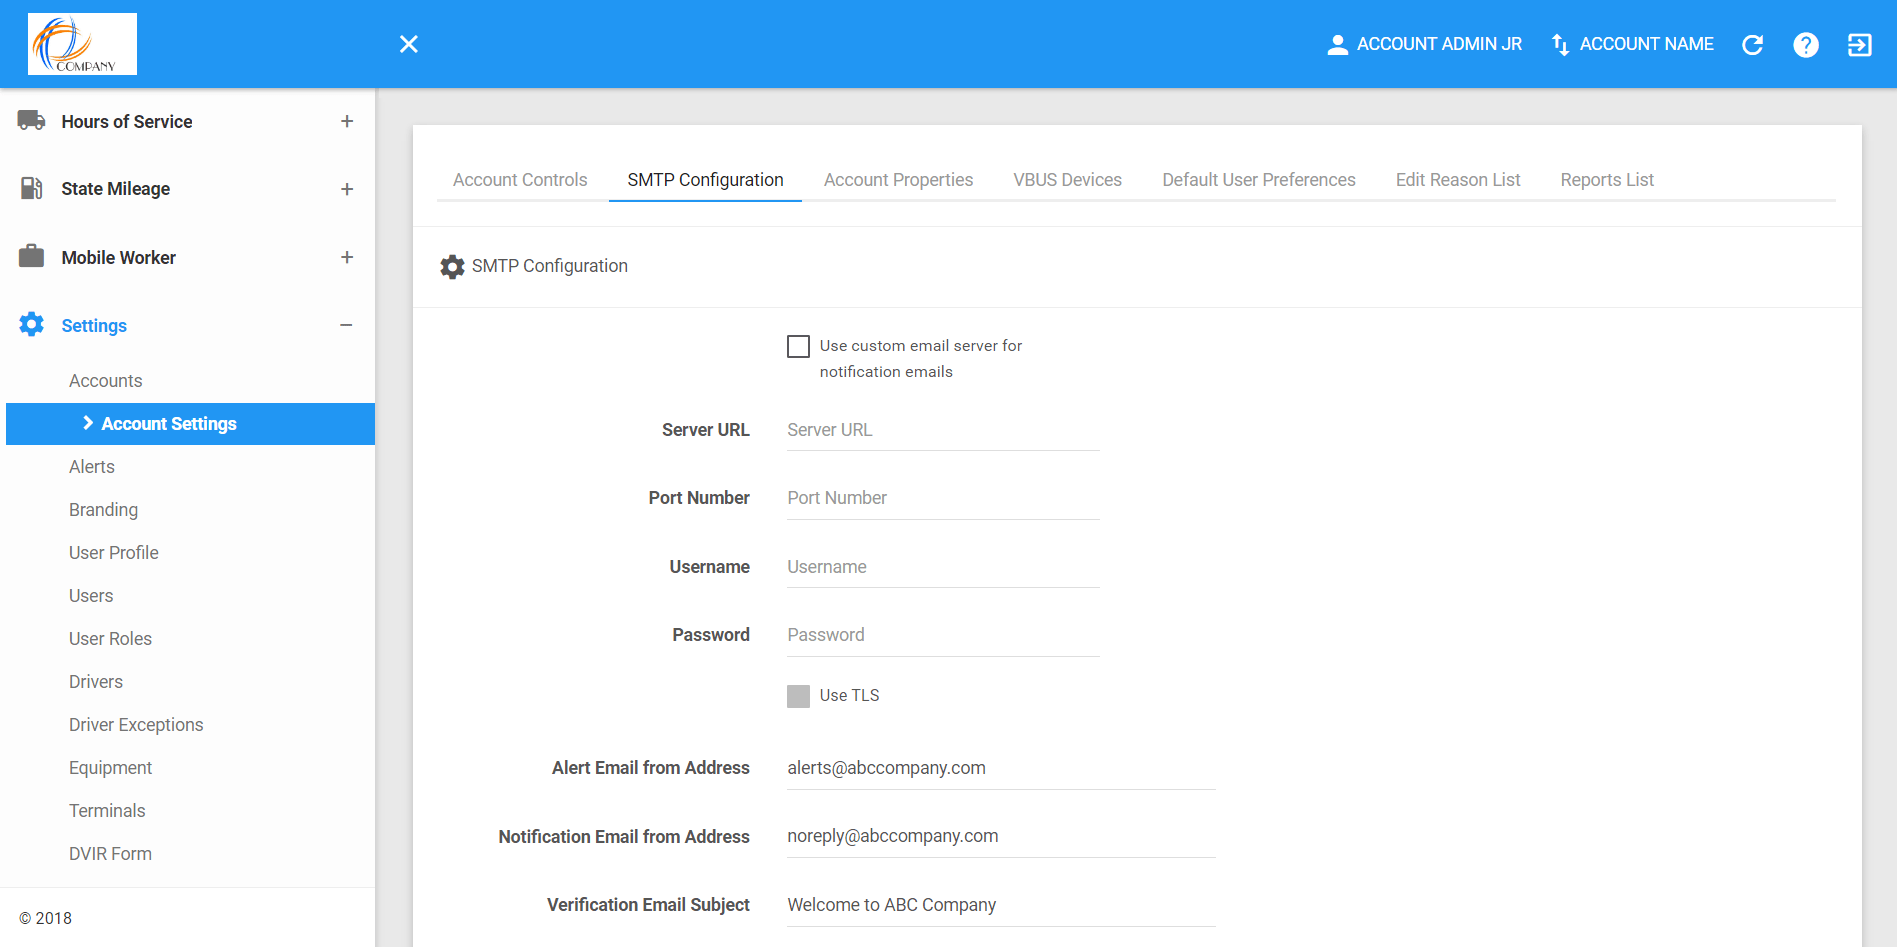
1. Check the first checkbox if you want to use a customized email content.

This will then enable all fields to be user inputted
Type the Server URL. This field is required.

Type the Port Number. This field is required.

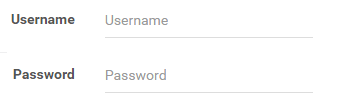
Type the Username and Password of the server connected to Notification Email from Address field.
2. Check Use TLS checkbox to use the customized email details.
3. Type the Alert Email from Address that will send as the sender of the email for alert notifications.

4. Type the Notification Email Address that will send as the sender of the email for other notifications.

5. Email Subject and Content
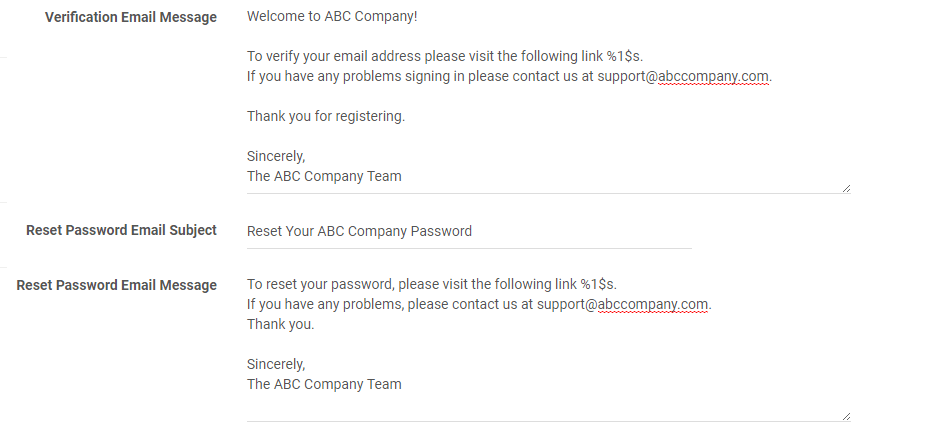
Type the verification email subject on the field.
Type the verification email content on the field.
Type the reset password email subjecton the field.
Type the reset password email content on the field provided.
6. Click on the Save button to successfully save the SMTP configurations. You can also click on the Reset button to delete and reset the SMTP configurations.
Note: Once checkbox is not checked, you can’t edit the details of the fields.
Account Properties
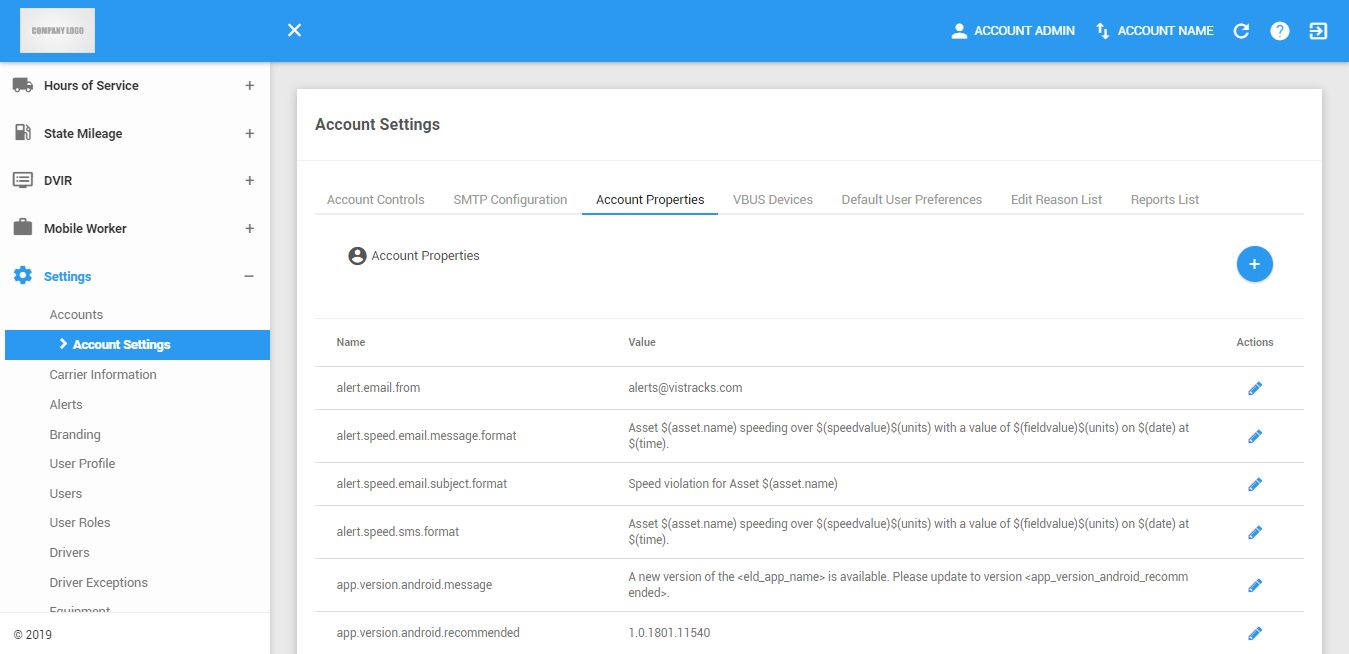
1. Add New Properties
Note: If Permission is PERM_IS_VT_ADMIN then user can add and override an account properties, but if the user is not admin then it can’t edit and add property.
1.1 Click New Property button.

1.2 A popup dialog will then show.
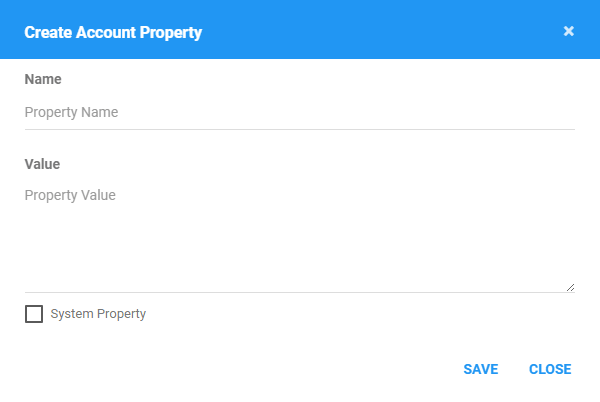
1.3 Type the name of the property you are going to add on the Name field.
1.4 Type the value of the property you want to add on the Value field
1.5 Check the System Property checkbox if the property to be added is for the system.
1.6 Click Save to save the account property.

1.7 Click Close button or the X icon to close the dialog or cancel adding account property.

2. Edit Account Properties
2.1 Click Edit button to retrieve details and update the account property.

2.2 Upon clicking edit icon , a pop up form will then show.
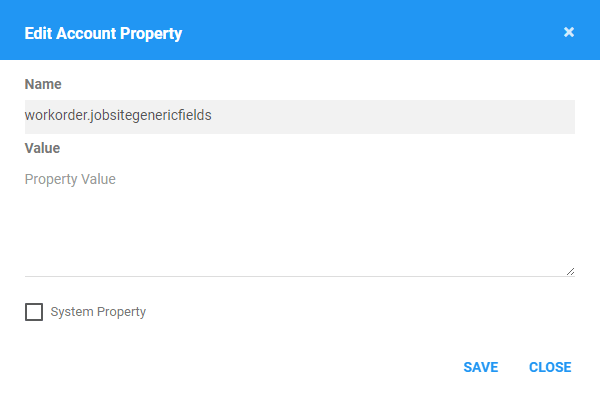
2.3 After updating property, click the Save to save the updated details.
2.4 Click Close button or the X icon to close the dialog or cancel updating account property details.
3. Delete Account Properties
3.1 Select an account property to delete.
3.2 Click the red X icon

3.3 Then a popup dialog will then show
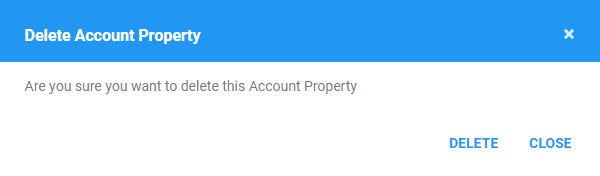
3.4 Click the Delete button to delete the selected account property.

3.5 Click Close button or the X icon to close the dialog or cancel deleting the account property.
4. Sorting of Account Properties
4.1 Account properties are automatically sorted alphabetically.
VBUS Devices
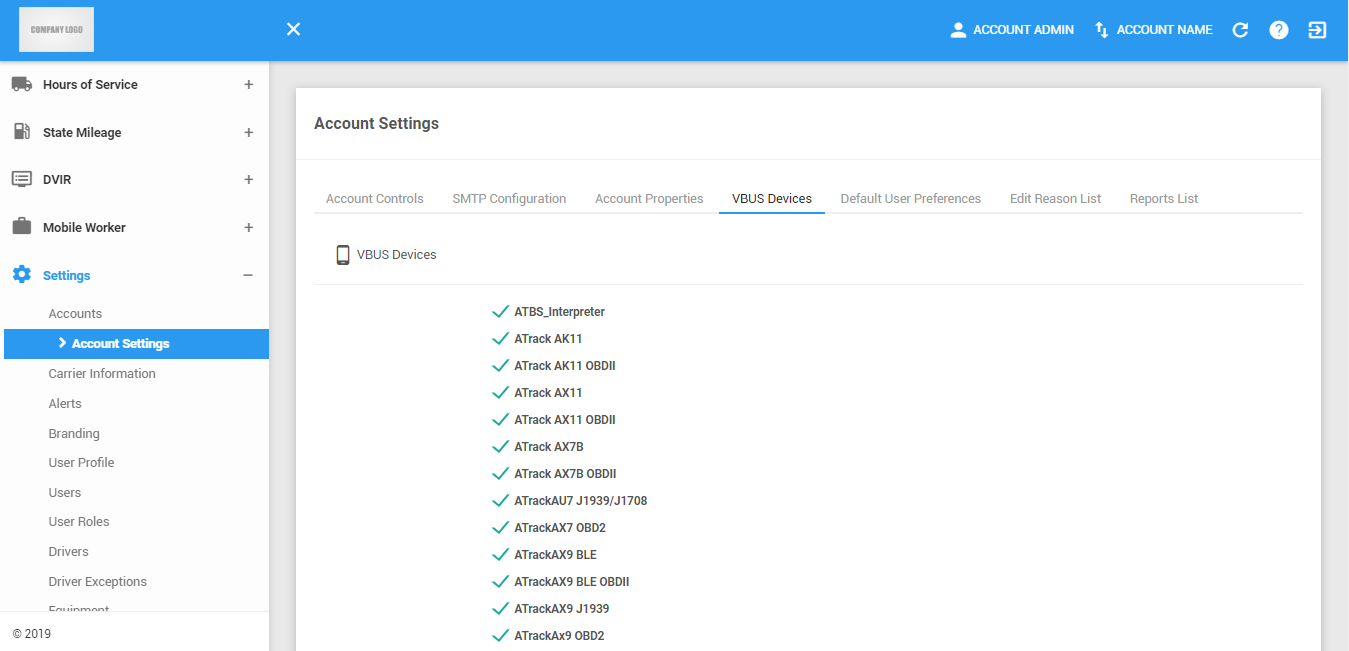
Note: The VBUS devices are all checked by default.
1. Check the VBUS devices that will be available on the app in this tab.
Default User Preferences
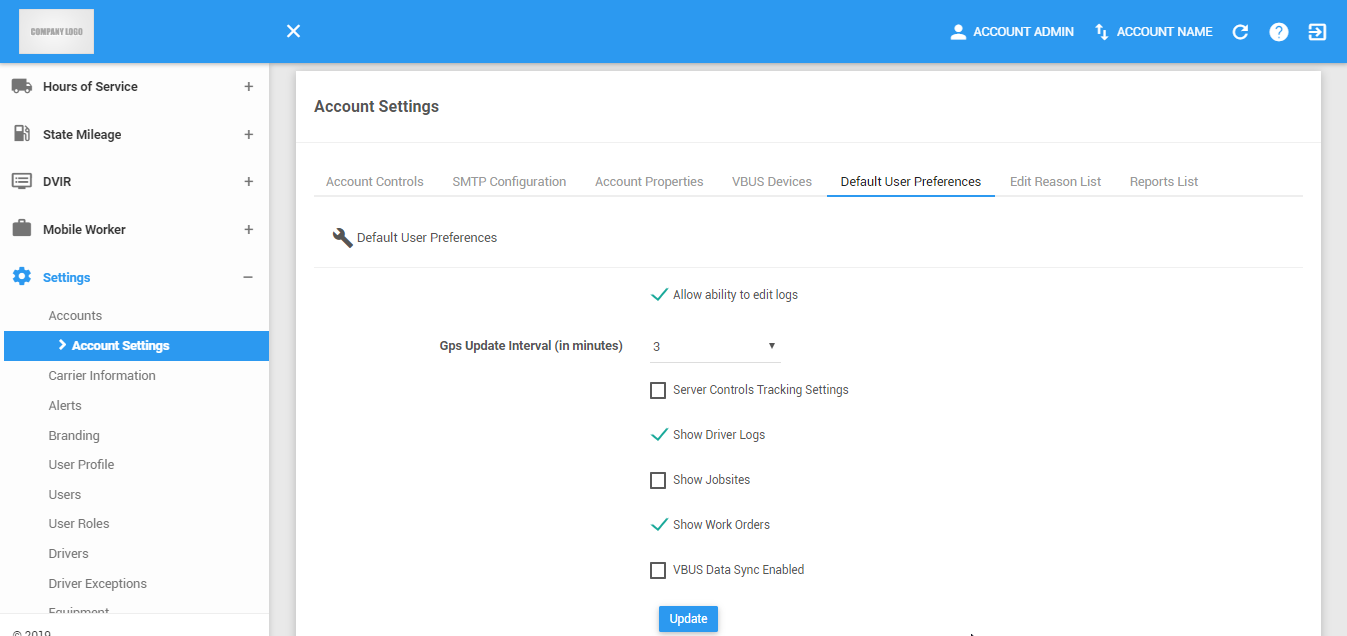
1. Controlling Screens on App
1.1 Check Show Driver Logs to make the driver access the HOS screens on app.
1.2 Check Show Job Sites and Show Work Orders to make the jobsites and work orders screen be displayed on app.
1.3 Check the other options to enable or disable screens and features on the app.
1.4 Click Update to save the updates.

Edit Reason List
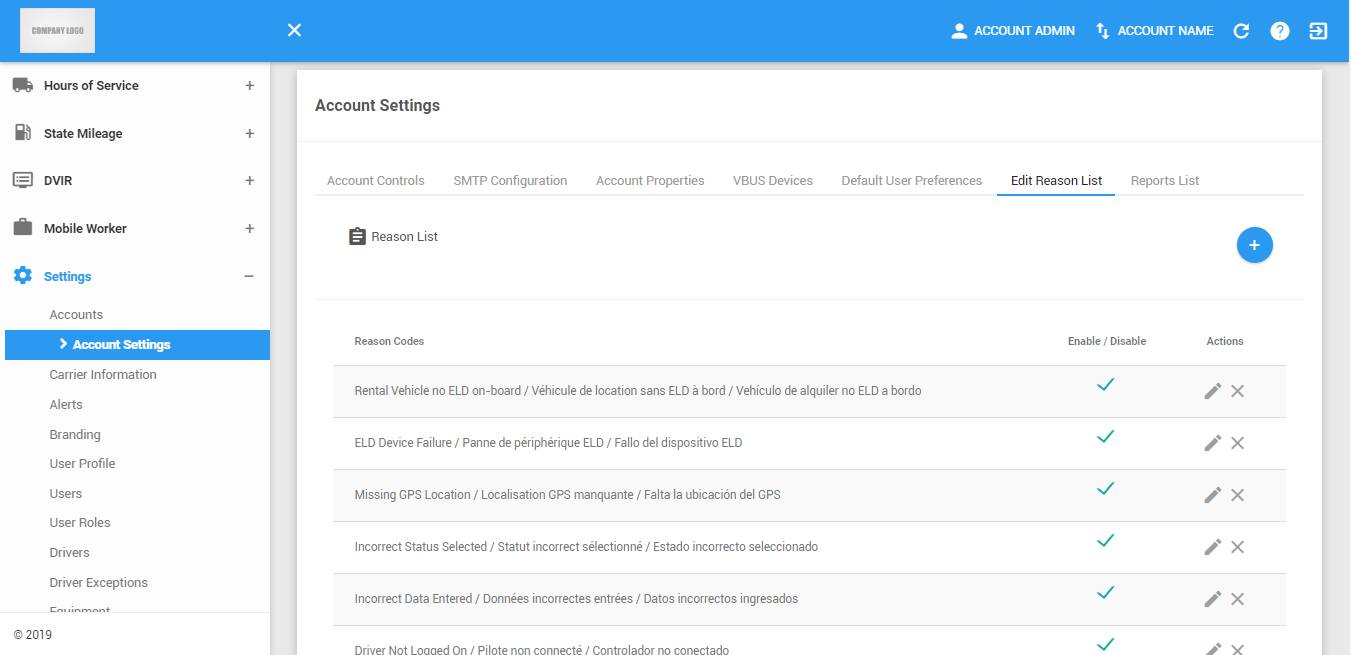
1. These reasons will be used when adding and editing event logs.
1. Add New Reason
1.1 Click the Add Reason Code button to create a new reason code.

1.2 The Add Reason dialog will then show.
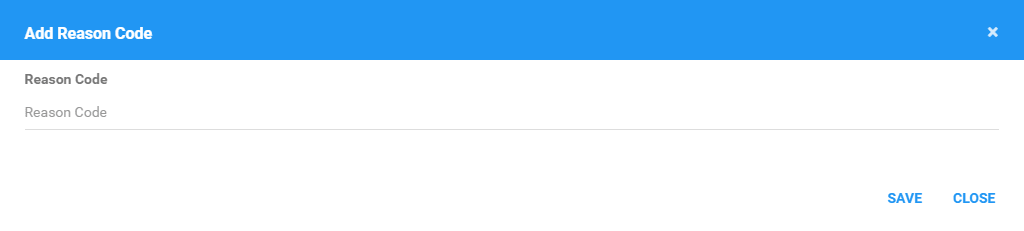
1.3 Type the reason code on the field provided.
1.4 Click on the Save button to create the inputted reason.

1.5 You can also click on the Close button or X to close the dialog or cancel creating new reason code.
2. Enabling and Disabling the Reason Code
2.1 To disable a reason code, click the Check icon.

2.2 To enable a reason code, click the Box icon.

3. Edit Reason Codes
3.1 Click the Edit icon to edit a reason code. Default reason codes cannot be edited.

3.2 The Update Reason Code dialog will be shown.
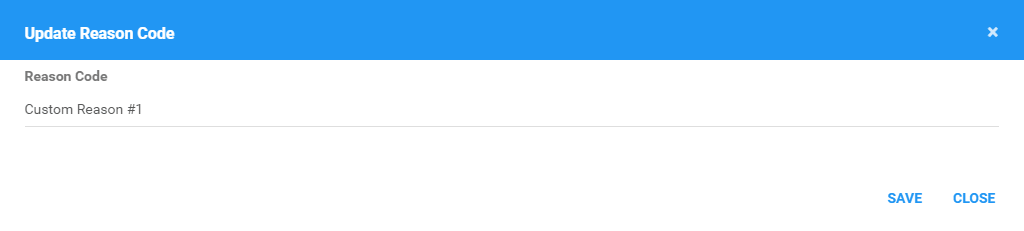
3.3 Click on the Save button to successfully update the reason code.

3.4 You can also click on the Close button or X to close the dialog or cancel updating the reason code.
4. Delete Reason Code
4.1 Click the Delete icon to delete a reason code. Default reason codes cannot be deleted.

4.2 The Delete Reason Code dialog will be shown.

4.3 Click on the Delete button to successfully delete the reason code.

4.4 You can also click on the Close button or X to close the dialog or cancel deleting the reason code.
5. Save Reason List
5.1 Click on the Save button to update the reasons list.

Data Retention
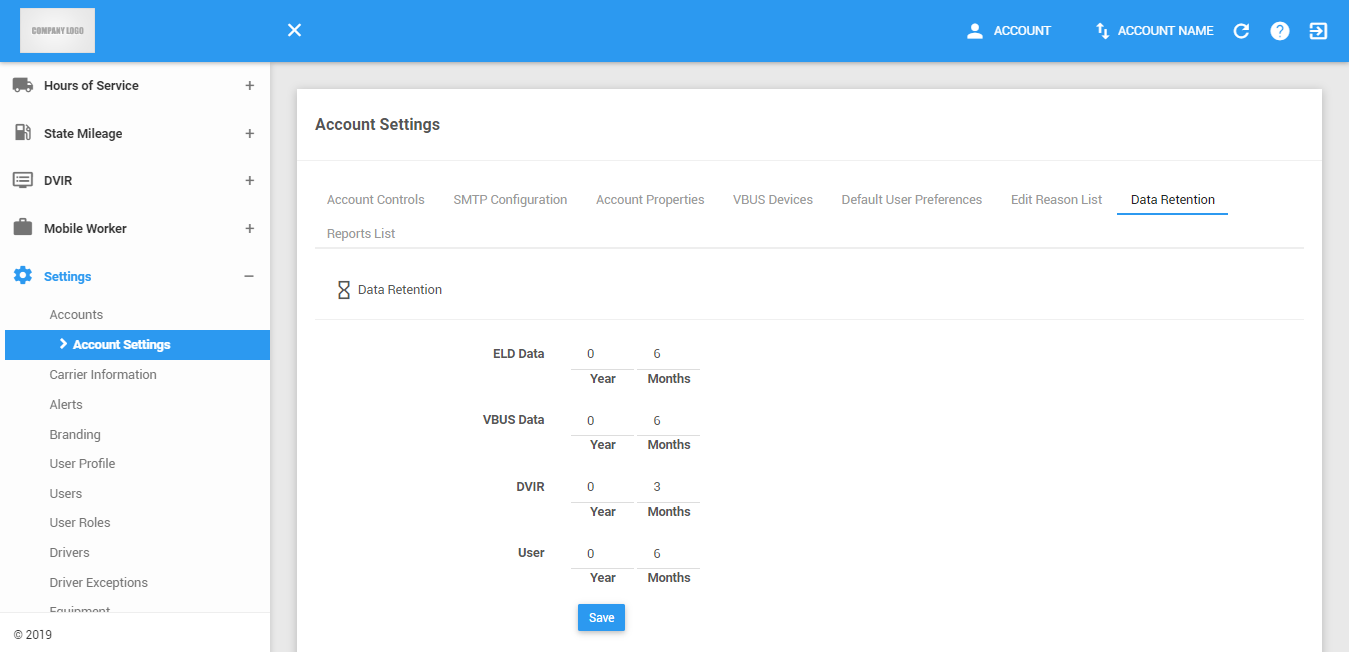
Type the year of duration to where to save the data (driver history- unidentified driving events) 6 months minimum for ELD Data, 6 months minimum for VBUS Data, 3 months minimum for DVIR Data, and User Data is set to 6 months by default
Note: Data Retention tab is available only for VTROOT users
Reports List
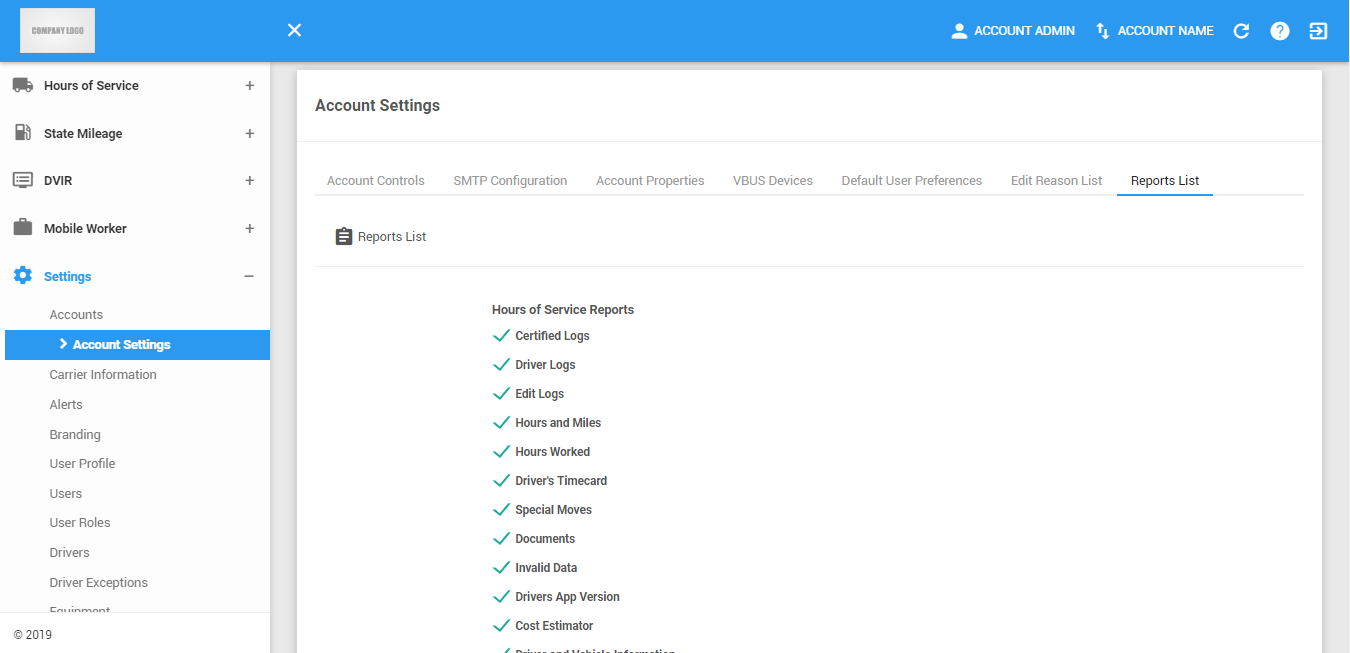
Notes:
- The Reports List are all checked by default.
- Reports List tab is available only to top level admin users.
Check the Report that will be available on the reports pages on the portal.
Was this article helpful?
That’s Great!
Thank you for your feedback
Sorry! We couldn't be helpful
Thank you for your feedback
Feedback sent
We appreciate your effort and will try to fix the article