The Users Page shows the list of all users (i.e Drivers, Personnel or Admins) in a specific account. Each user has its own email and password for logging in. The user’s accessible services are dependent on the user’s role in the system.
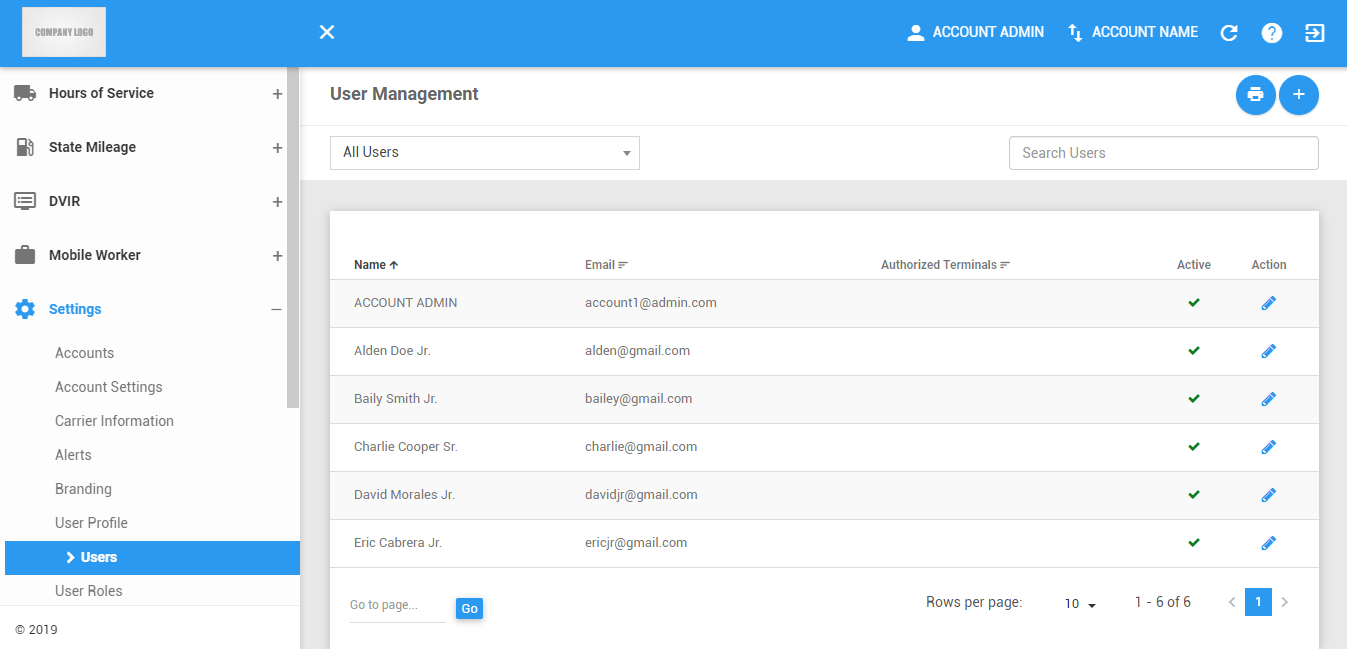
The Users page can be manually refreshed using the Refresh button within the site header.

Exporting Users
1. Click on the Export button to generate a report of the current users you have access to.

2. The Export File dialog will then appear.
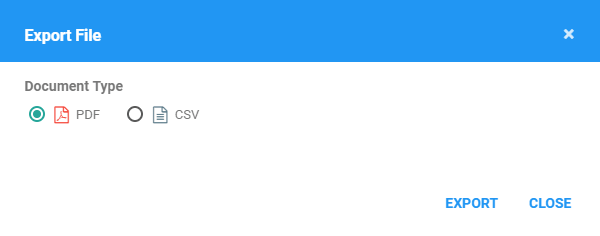
3. Select a document type and click Export button to print a report of the users.
4. The report will be saved as a PDF file when you selected PDF, and as a CSV file when you selected CSV. Click herefor a sample PDF report.
Creating New Users
You can add users using the New User button. The newly created user will then be added to the data table.
1. Click on the Add New User button.

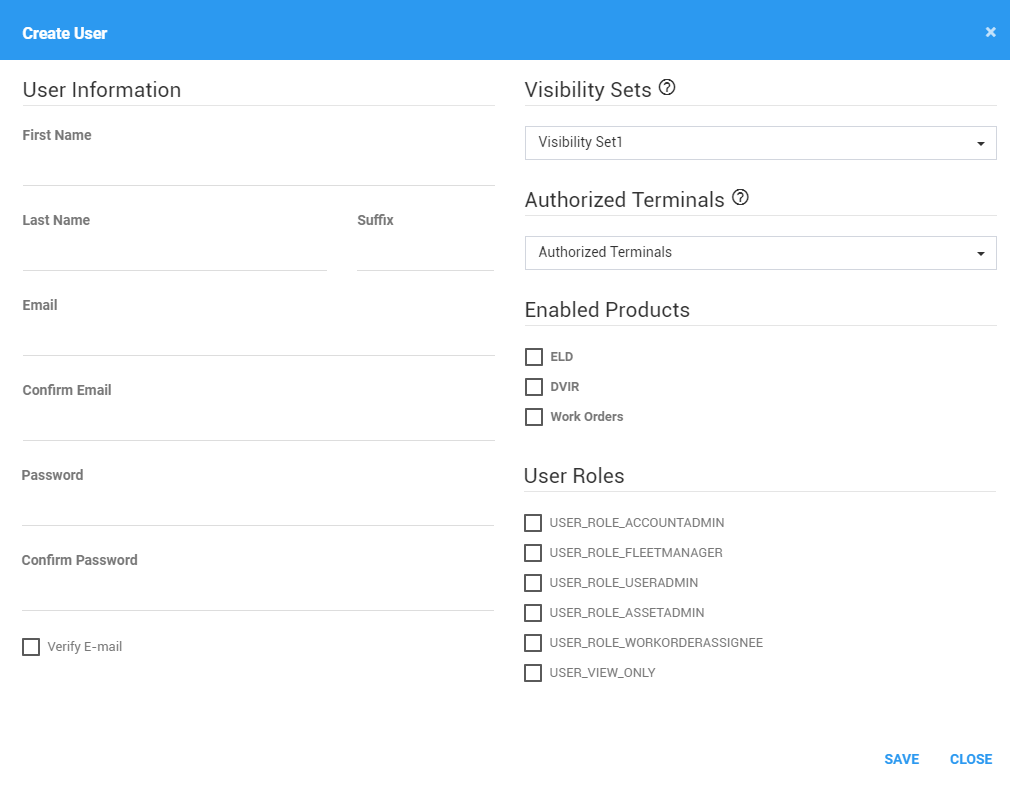
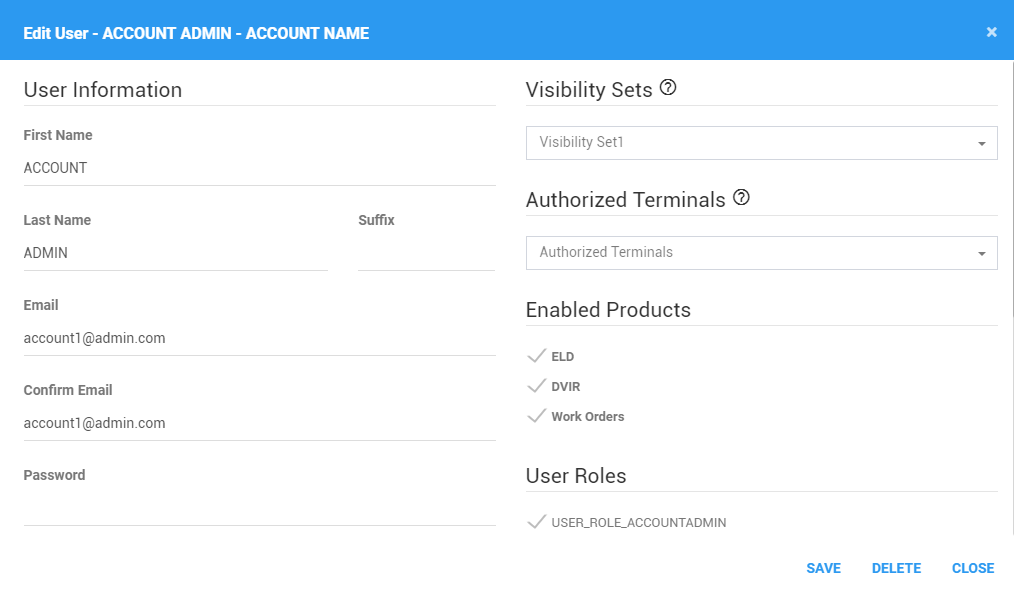
2. Fill in the User Information and set at least one user role for the user.
Notes:
Check the ‘Verify E-mail’ option to be able to have an email sent to the user’s email address with regards to the login process.
Click the help icon to show the tooltip.

When creating a user, all Available Visibility Sets are selected by default. Available Visibility Sets are limited to the visibility sets the currently logged-in user has access to if it only has PERM_IS_USERADMIN
Set the user’s role, you may or may not check all the available roles.
User Role Definitions:- USER_ROLE_ACCOUNTADMIN- Indicates if a user is an account admin. An account admin has overall access to the account.
- Can manage Accounts that are under his/her own account.
- Can manage Driver Statuses, Driver Logs, Locations, Violations, Unidentified Driving Events, Reports, DVIR History, Malfunctions and Data Diagnostics and Log Edits.
- An account admin has access to the following administrative pages: Accounts, Account Settings, Alerts, Branding, User Profile, Users, User Roles, Drivers, Driver Exceptions, Equipment Management, Terminals, DVIR Forms, Form Setups, Button Editor, License Management (for accounts with license functionality) and User Interface
- USER_ROLE_FLEETMANAGER- Indicates if a user is a fleet manager. A fleet manager has access to users, equipment, terminals and DVIR forms information.
- Can manage Driver Statuses, Driver Logs, Locations, Violations, Unidentified Driving Events, Reports, DVIR History, Job Sites and Work Orders.
- A fleet manager has access to the following administrative pages: Alerts, User Profile, Users, Drivers, Equipment Management, Terminals, DVIR Forms, User Interface.
- USER_ROLE_USERADMIN- Indicates if a user is a user admin. A user admin has access to users’ information.
- Can manage Driver Statuses, Driver Logs, Locations, Violations, Unidentified Driving Events, Reports, DVIR History, Job Sites and Work Orders.
- A user admin has access to the following administrative pages: Alerts, User Profile, Users, Drivers, User Interface.
- USER_ROLE_ASSETADMIN- Indicates if a user is an asset admin. An asset admin can manage the account’s equipment.
- An asset admin has access to the following administrative pages: User Profile, Equipment Management, User Interface.
- USER_ROLE_WORKORDERASSIGNEE- Indicates if a user is work order assignee. A work order assignee can be assigned work orders from the portal. Actions that can be performed by a work order assignee include:
- Cannot login to portal.
- Can login, view, create, update and delete only his/her own records in the mobile app.
- USER_VIEW_ONLY- Indicates if a user has VIEW ONLY permissions. A user with all the view permission can perform the following:
- Can login to portal.
- Can view Driver Statuses, Driver Logs, Locations, Violations, Unidentified Driving Events, Reports, DVIR History, Malfunctions and Data Diagnostics, Log Edits, Job Sites and Work Orders.
- Can view the following administrative pages: User Profile and User Interface.
- USER_ROLE_ACCOUNTADMIN- Indicates if a user is an account admin. An account admin has overall access to the account.
3. Select Authorized Terminals for the user. This will be used in the Drivers Page and Violations Page when filtering for terminals.
4. Select Enabled Products for the user. Only the enabled product(s) will be available for this user.
ELD
DVIR
Work Orders
5. Click on the Save button to save the User. You can also click on the X button to cancel adding the user.

Filtering Users
1. Select a filter from the All Users drop-down.

2. The Users table will then be updated to only show the user/s with the specified filter.
Searching Users
1. Type the Name or the Email Address of the User in the Search text field.

2. The Users table will then be updated to only show the user/s with the specified first name.
Sorting Users
1. The records can be sorted by the following fields:
Name
Email
Authorized Terminals
2. Click the column header title in order to sort the records either in ascending or descending order.

3. The Users table will then be updated with the records sorted according to the column header that was clicked.
Updating a User
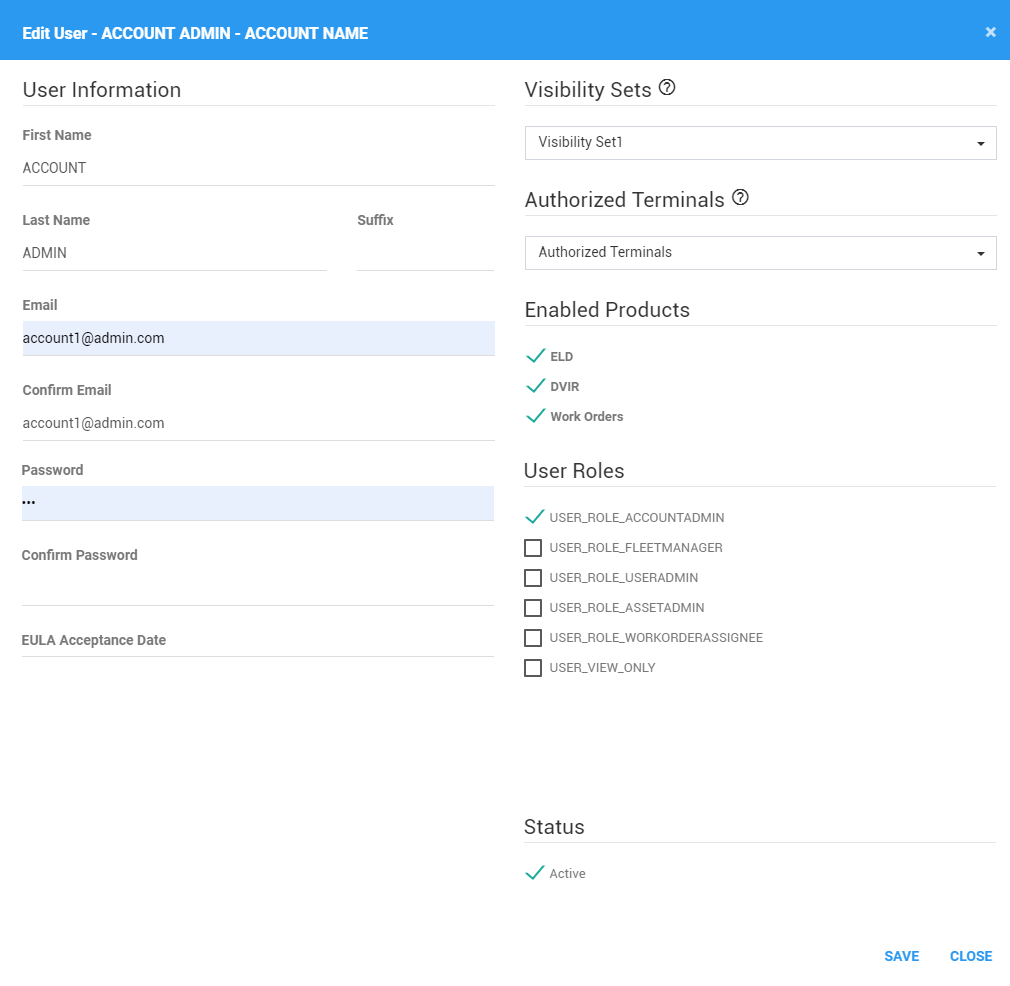
1. Click on the Edit icon of a particular user. Edit the user’s information.
Notes:
- Upon editing a driver in the edit user dialog, the only roles to be displayed are assetAdmin and workOrderAssignee.
- When editing a driver that is not Active, the fields are disabled.
- Available Visibility Sets are limited to the visibility sets the currently logged-in user has access to if it only has PERM_IS_USERADMIN and the user to be edited does not have less permissions.
- Upon editing a driver in the edit user dialog, the Authorized Terminals will be hidden and the Terminal drop down will then show.

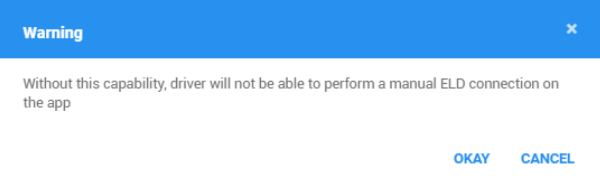
2. Upon editing a driver and unchecking of the USER_ROLE_ASSETADMIN, a warning dialog will then appear.
3. Click on the User Preference button to update the user’s preference settings.
3.1 The User Preference dialog will then be shown.
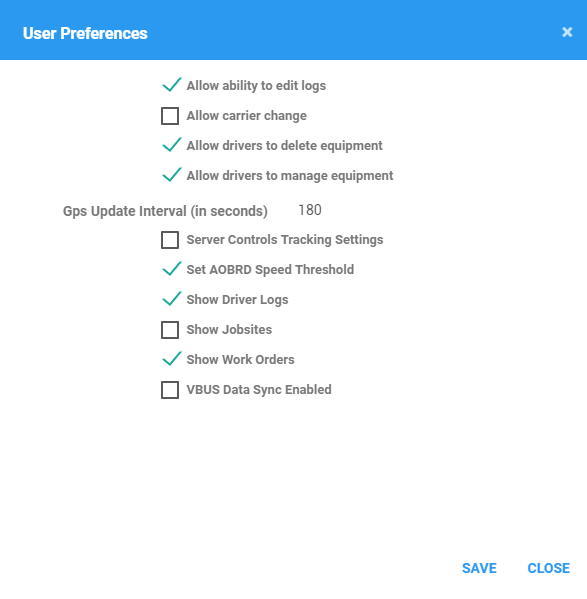
3.2 Change the values for the preference settings.
3.3 Click on the Save button to save the updates made to the User Preferences. You can also click on the Close button to cancel the updates made and return to the Users dialog
4. Click on the Resend Verification Email button to resend an email to users who haven’t received any verification email after creating a user account. This button is only available for users who have not yet verified their email address.
5. Click on the Save button to save the updates made to the Users Information. You can also click on the X button to cancel the updates made.

Deactivating a User
1. Click on the Edit icon of a particular user.

2. Uncheck the Deactivate checkbox.

3. Click on the Save button to proceed on deactivating the user’s account. You can also click on the Close button to cancel the updates made.
4. The user’s account is successfully deactivated.

Deleting an Account
1. Click on the Edit icon of a deactivated account.
2. Click on Delete button.
Note: Delete button is only available for the deactivated user’s account.
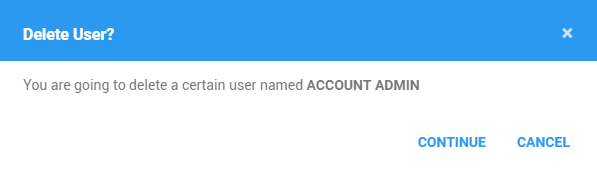
3. Click on Continue button to confirm deleting the user’s account. Click Cancel to cancel deleting the user’s account.
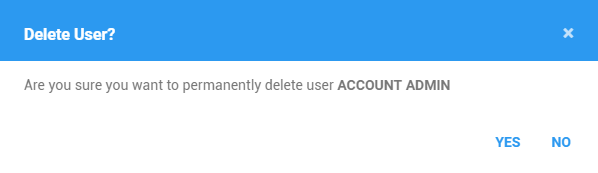
4. Click on Yes button to delete the account on another dialog prompted. You can also click on the No button to cancel deleting the account.
Users Pagination
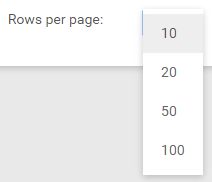
The table only shows the first 10 users according to the sorted column, and the rest will be on different pages.

Click and choose from the dropdown to change the number of records to be displayed per page.
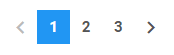
Click on the navigation buttons below the table to jump to a specific page.
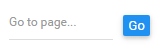
Enter a page number and Click Go to jump directly to a specific page.
Was this article helpful?
That’s Great!
Thank you for your feedback
Sorry! We couldn't be helpful
Thank you for your feedback
Feedback sent
We appreciate your effort and will try to fix the article