The Terminals Page shows the list of all terminals in a specific account. Terminals are used when setting up for drivers. Drivers created under a specific terminal inherits its time zone and start time of day information.
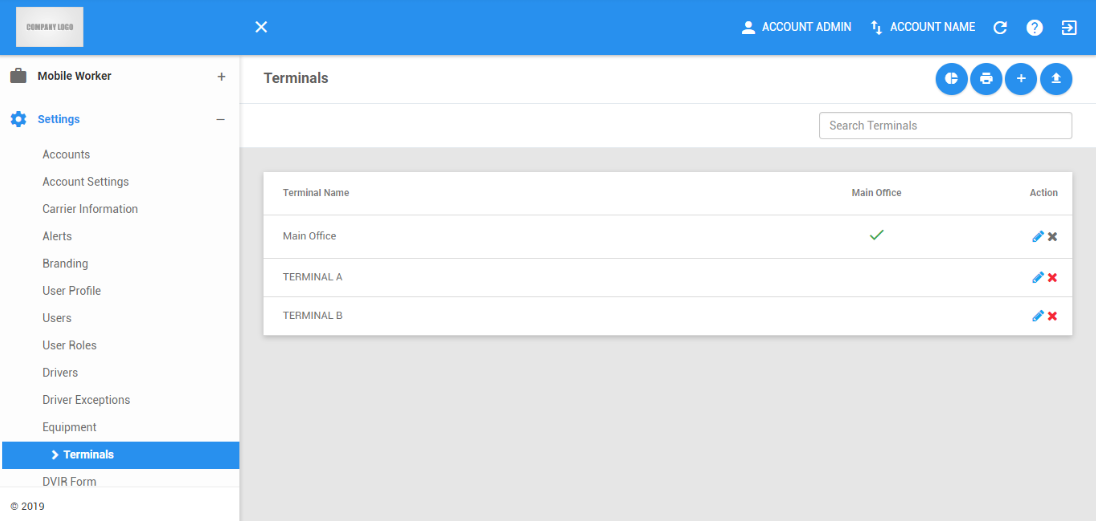
The Terminals page can be manually refreshed using the Refresh button within the site header.

Terminal Actions
1. Creating New Subsets
1.1 Click on the Subset button.

1.2 The Subsets dialog will then appear.
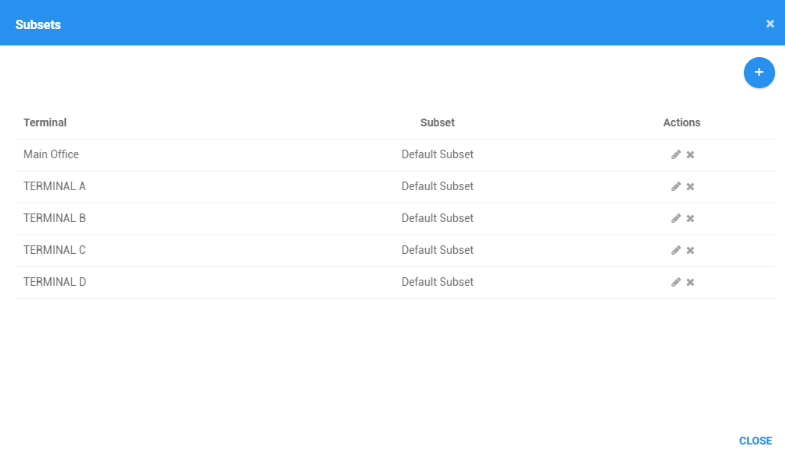
1.3 Click on Add Subset button.

1.4 The Create Subset dialog will then appear.
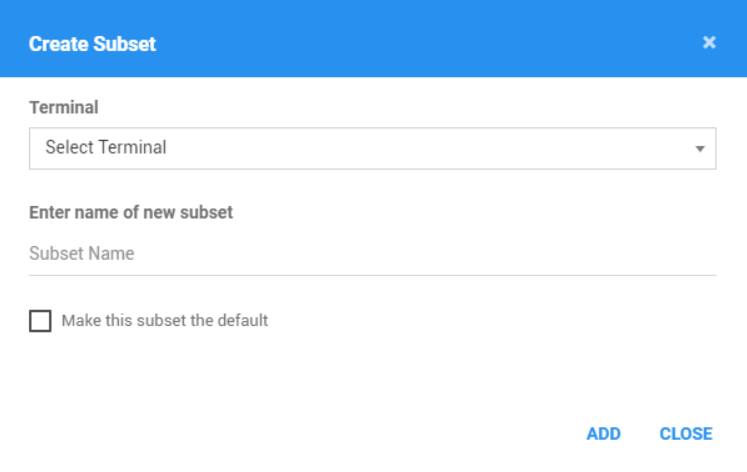
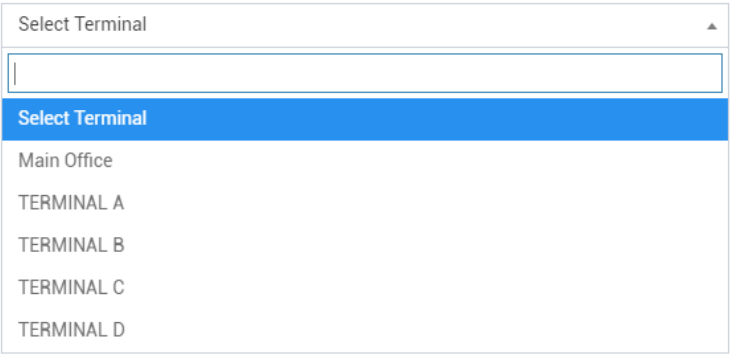
Click on Select Terminal drop-down list.

Select the terminal in the drop-down list.
Fill in the name of the new subset.

Check the Make this subset the default option if you want this subset to be the default subset of the selected terminal. While subset is set as the default subset of the selected terminal, it cannot be edited or deleted.

1.5 Click the Add button to successfully add the subset. Click the Close button to cancel the creation.

2. Exporting Terminals
2.1 Click on the Export button to generate a report of the current terminals you have access to.

2.2 The Export File dialog will then appear.
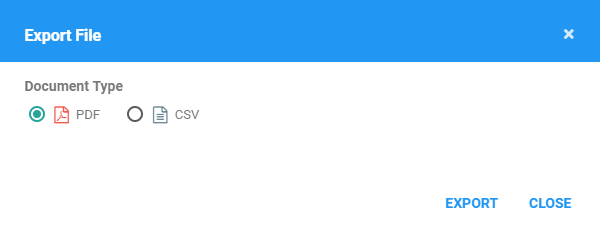
2.3 Select a document type and click Export button to print a report of the terminals
2.4 The report will be saved as a PDF file when you selected PDF, and as a CSV file when you selected CSV. Click here for a sample PDF report.
3. Creating New Terminals
3.1 Click on the +Terminal button.

3.2 The Add Terminal dialog will then appear.
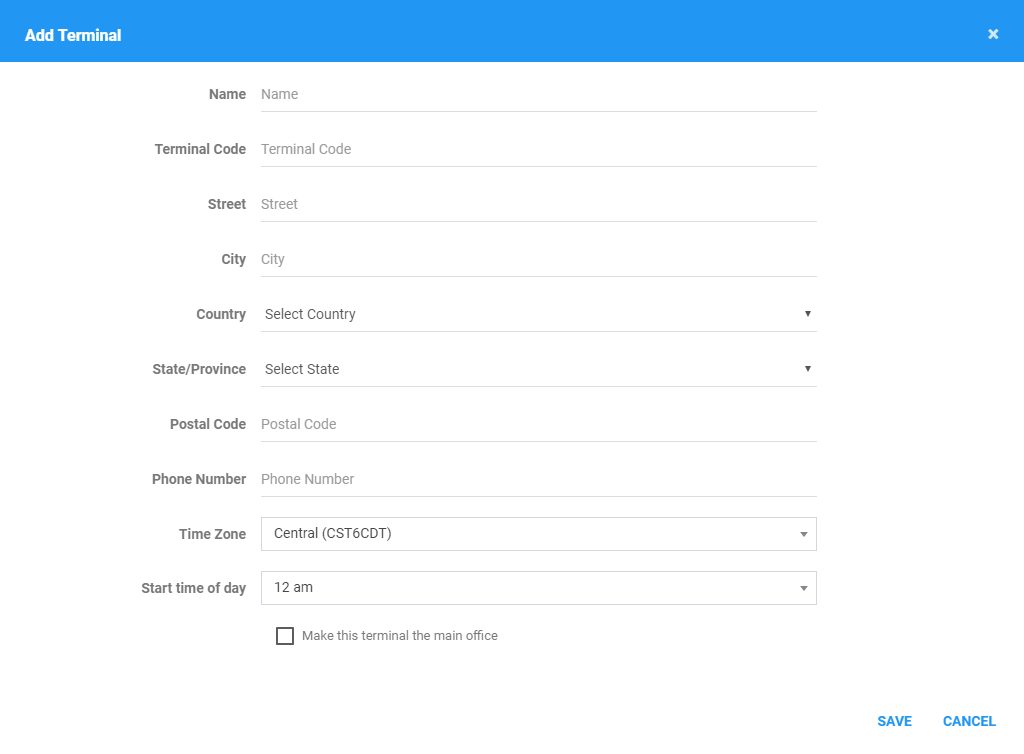
3.3 Fill in / Select the Terminal information.
Fill in the name and code of the terminal.

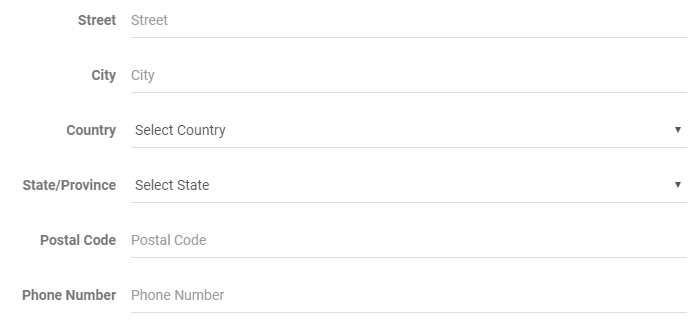
Fill in the address fields of the terminal.
Select a timezone and the start time of day set for drivers assigned to this terminal.

Check the Main Office option if you want this terminal to be the account’s main office. Making a certain terminal the main office will override the old main office. While a terminal is set as the main office, it cannot be edited or deleted.

3.4 Click the Save button to successfully add the terminal. Click the Cancel button to cancel the creation.

4. Uploading CSV for Bulk Terminals
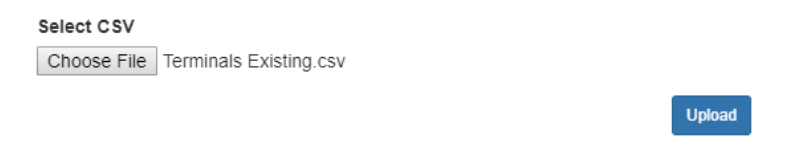
4.1 Click on the Upload CSV button.

4.2 The Upload CSV dialog will then appear.
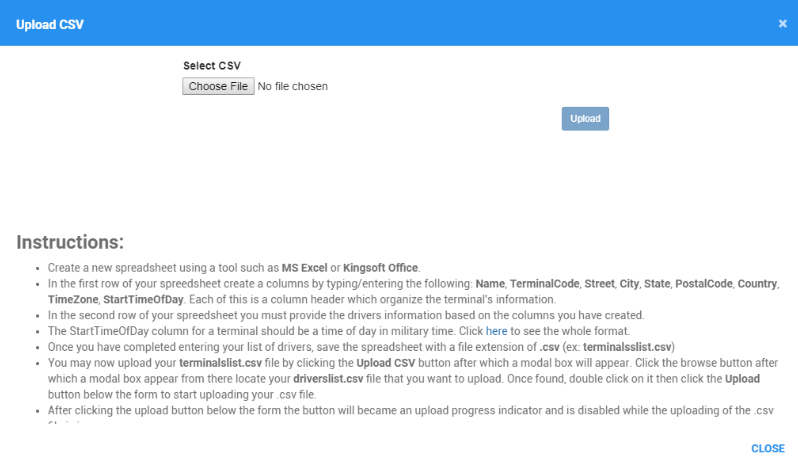
4.3 Browse for your CSV file and click Upload button.
4.3.1 A success message will then appear if the upload is successful.

4.3.2 If uploading new terminal(s), a success message will display the numbers of terminal(s) that has been successfully added.

4.3.3 If uploading existing terminal(s) with updates, a success message will display the number of terminal(s) that has been successfully updated.

4.4 Otherwise an error message will appear.
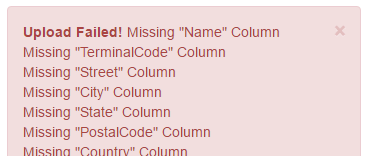
4.5 Click on the X button of the modal to close the dialog after uploading or to cancel the CSV upload.
5. Searching Terminals
5.1 Type the Name of the Terminal in the Search text field.

5.2 The Terminals table will then be updated to only show the terminal/s with the specified name.
NOTE: Terminal table will display terminal names when user typed the first and second letter of the terminal name
Terminals Table
1. Editing a Terminal
1.1 Click on the Edit icon of a specific terminal.

1.2 The Edit Terminal dialog will then appear.
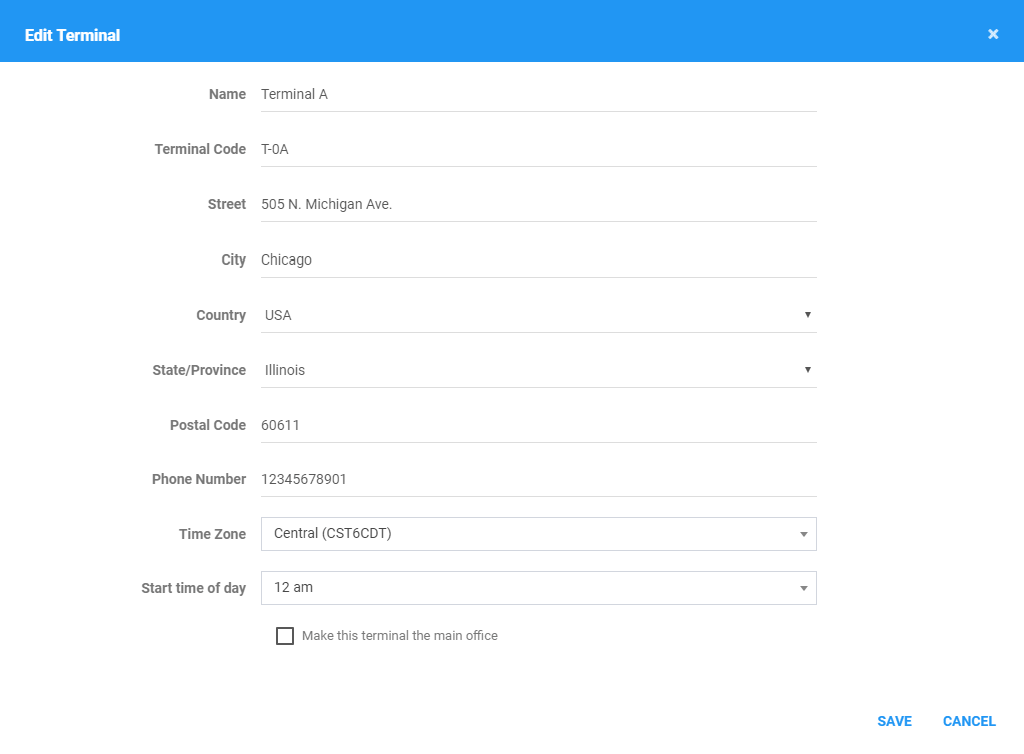
1.3 Fill in / Select the terminal details as you would in creating a terminal.
1.4 Click the Save button to successfully save the terminal. Click the Cancel button to cancel the edit.

2. Deleting a Terminal
2.1 Click on the Delete icon of a specific terminal.

2.2 The Delete Terminal dialog will then appear.
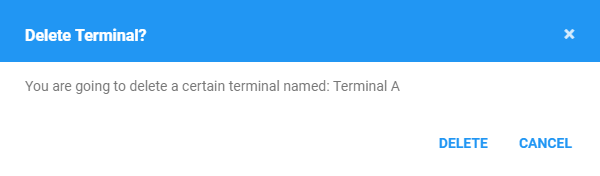
2,3 Click the Delete button to successfully delete the terminal. Click the Cancel button to cancel the deleting of the terminal.

Was this article helpful?
That’s Great!
Thank you for your feedback
Sorry! We couldn't be helpful
Thank you for your feedback
Feedback sent
We appreciate your effort and will try to fix the article