The Form Setup Page allows you to create new form fields that can be used for recording additional information. Fields that have been created are then added to the Jobsites and Work Orders dialog and are also reflected in the application.
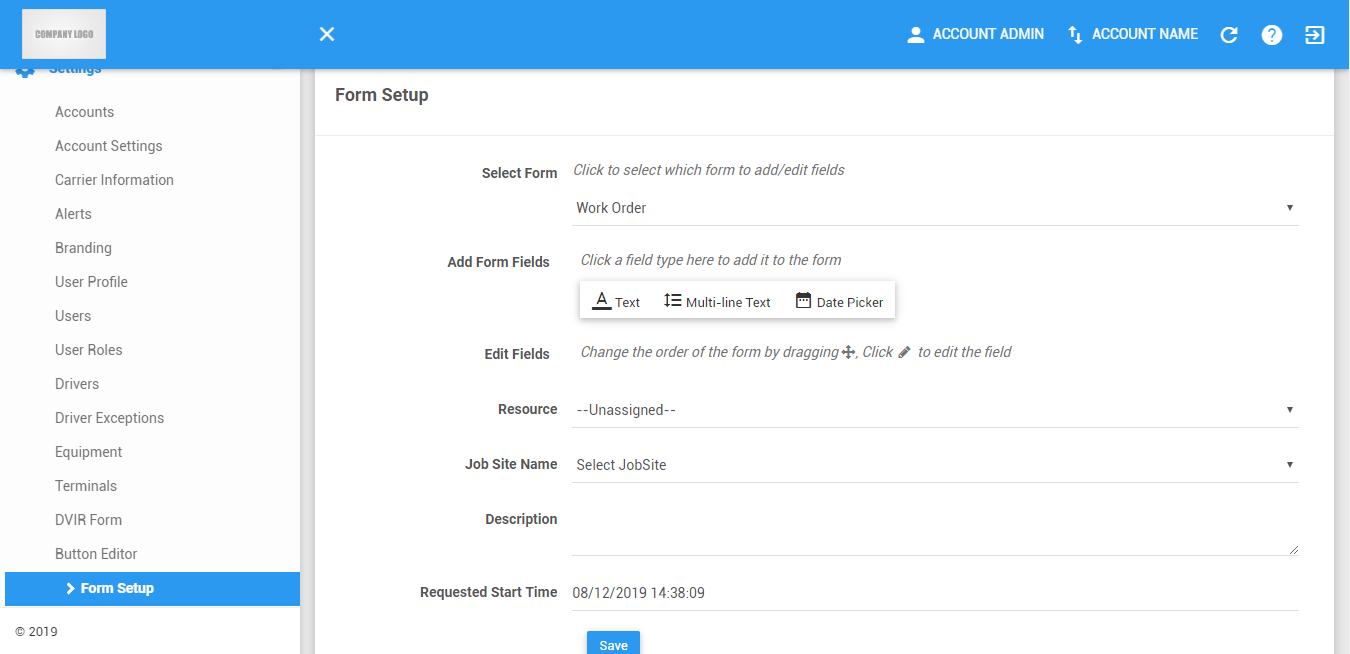
Selecting Form Setup
1. Select Work Orders from the Select Form drop-down list.
1.1 The default work orders form will be shown with the form fields if there are any.
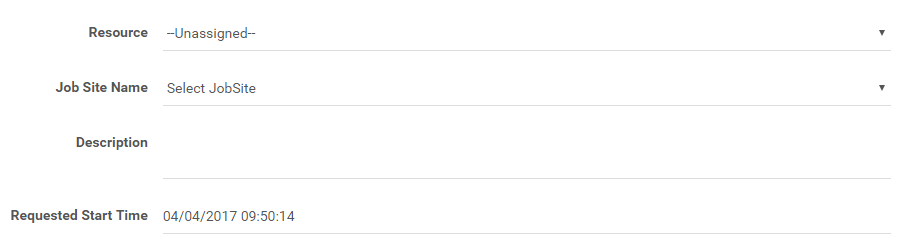
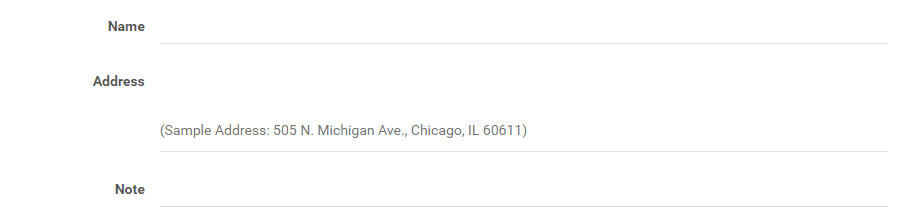
2. Select Job Site from the Select Form drop-down list.
2.1 The default jobsite form will be shown with the form fields if there are any.
Adding New Form Fields
Select the type of field to add below the default form.
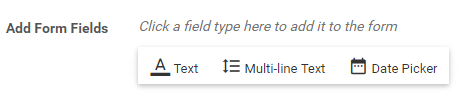
1. Text field

2. Multi-line text field

3. Date Picker

Editing a Form Field

1. Click on the Edit button of a particular form field.

2. The field will then expand. Update the field name and description.

3. To reorder the form fields, click the field’s handle icon and drag to up and down. Release when the Drop Here indicator appears on the row you want

Deleting a Form Field
1. Click on the Delete button of a particular form field.

2. The form field will be removed automatically.
Saving the Form Setup
1. To save the form setup, click the Save button.

2. A toaster message will appear atop the header indicating that the form has been saved.

Was this article helpful?
That’s Great!
Thank you for your feedback
Sorry! We couldn't be helpful
Thank you for your feedback
Feedback sent
We appreciate your effort and will try to fix the article