The Work Orders page displays all electronic job order tickets which are created using the Web Dashboard and Mobile Worker app. The assigned resource/asset receives these work orders through the Mobile Worker app. The Work Order page provides for an easy way to manage job order tickets online.
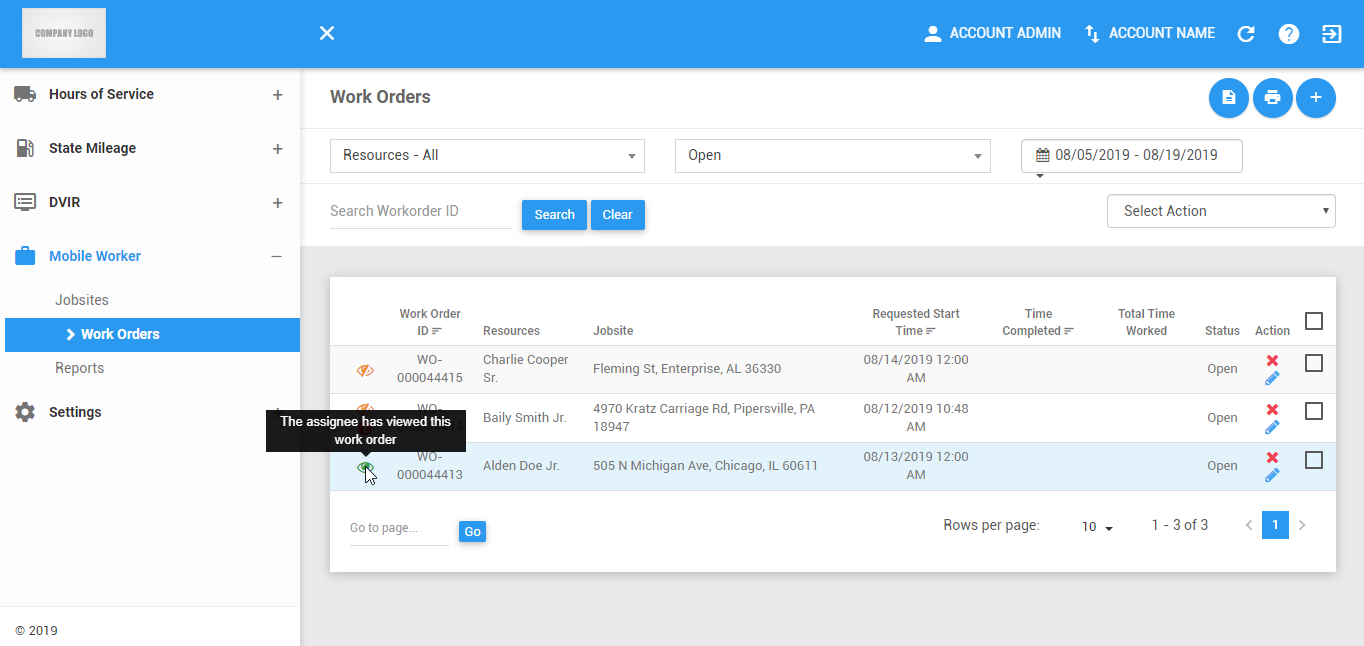
The Work Orders page can be manually refreshed using the Refresh button within the site header.

Note: This page can only be accessed if the user has a permission to view the portal work orders reports tab.
Work Order Actions
1. Generating Work Order summary
1.1 Click on the Summary button.

1.2 The Summary Report dialog will then appear.

1.3 Select the start date of the report.
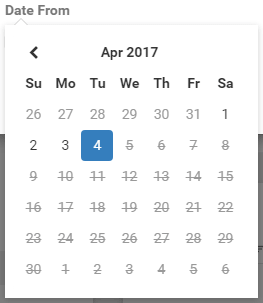
1.4 Select the end date of the report.
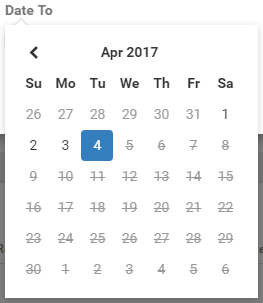
1.5 Click on the Generate button to open the generated report in a new tab. You can also click on the Close button to close the dialog.

2. Printing Work Orders
2.1 Click on the Print button to print a report of the work order’s(s’) current status(es).

2.2 The report will be saved as a PDF or CSV file.
3. Creating a Work Order
3.1 Click on the New Work Order button.

3.2 The Create Work Order dialog will then appear.
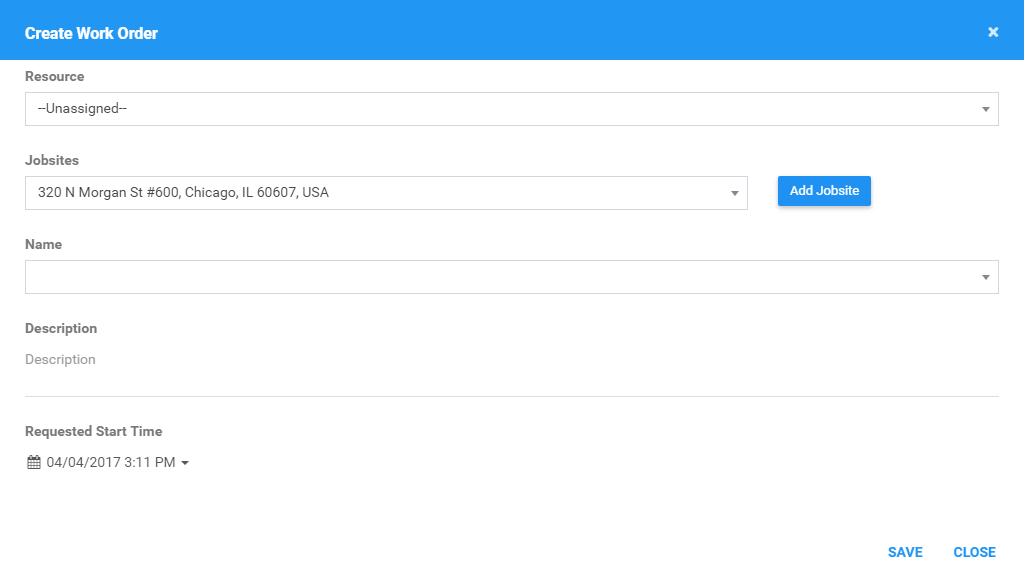
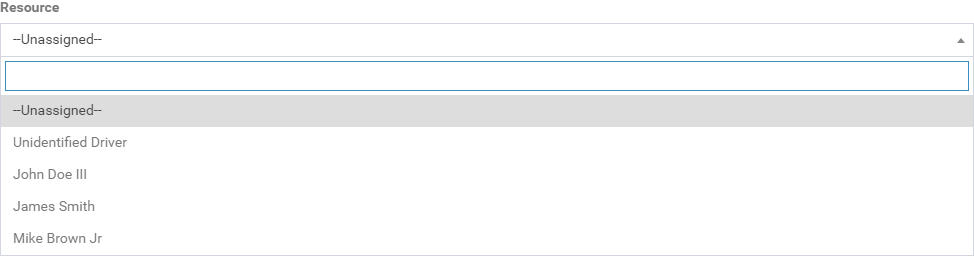
3.3 Select a resource to be assigned to the work order.
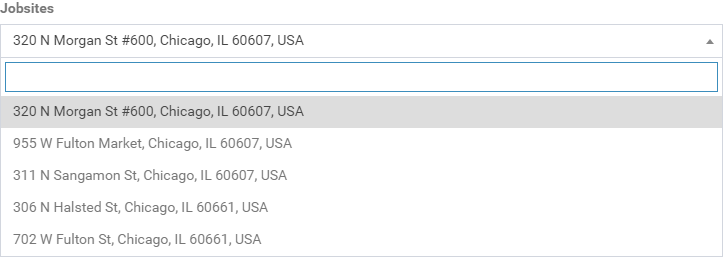
3.4 Select a jobsite where the work order will be performed. The corresponding name will automatically be selected for the the address field.
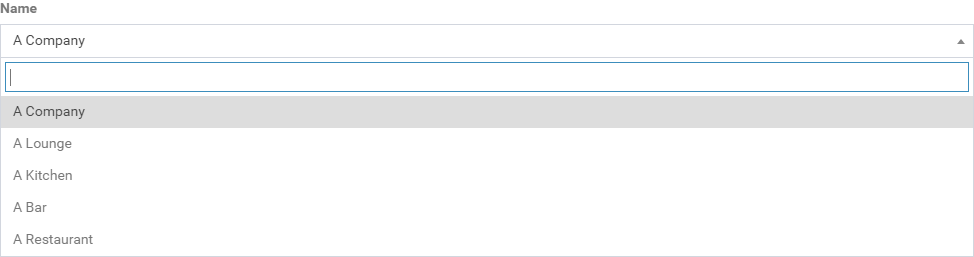
3.5 Alternatively, you can also select the address and the corresponding jobsite will be selected.
Note: You can also click on the Add Jobsite button to add a new jobsite within the work order page.

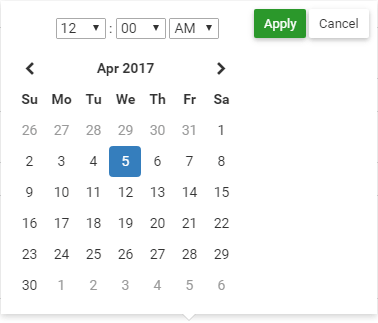
3.6 Select a requested start time to perform the work order.
3.7 Fill in the other fields if there are custom form fields set-up
3.8 Click on the Save button to successfully add the work order. Click the Close button to cancel the creation.

3.9 The Work Order will then be added on the events history list.
Filtering the Work Orders table
1. Filter by Resources
1.1 Select the Resource Name in the drop-down list.

1.2 The Work Orders table will then be updated to only show the specific results which fall under the applied filter.
2. Filter by Date
2.1 Select a Date in the date-picker.

2.2 The Work Orders table will then be updated to only show the specific results which fall under the applied filter.
3. Filter by Resources
3.1 Select the Status in the drop-down list.

3.2 The Work Orders table will then be updated to only show the specific results which fall under the applied filter.
4. Filter by Resources
4.1 Enter the ID of the work order.

4.2 Click the Search button to get the work order with the ID. Click on the Clear button to cancel searching.
4.3 The Work Orders table will then be updated to only show the specific results which fall under the applied filter.
Work Orders table
1. Sorting Work Orders records
1.1 The records can be sorted by the following fields
- Work Order ID
- Requested Start Time
- Time Completed
1.2 Click the column header title in order to sort the records either in ascending or descending order.

1.3 The Work Orders table will then be updated with the records sorted according to the column header that was clicked.
2. Editing a Work Order
2.1 Click on the Edit icon of a specific work order.

2.2 The Edit Work Order dialog will then appear.
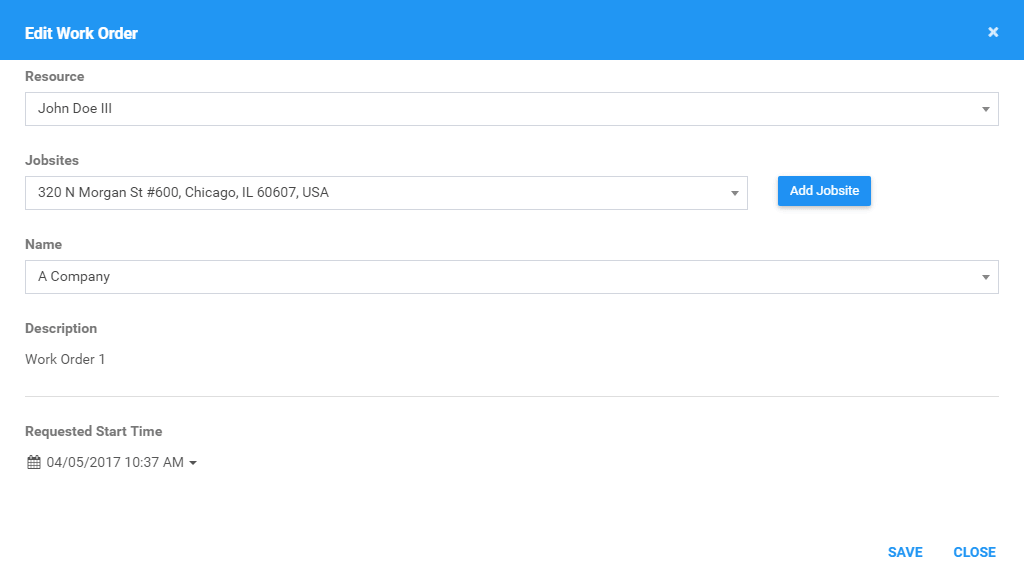
2.3 Fill in the fields as you would in creating a work order. Click the Save button successfully save the work order. Click X to cancel the edit.

3. Deleting a Single Work Order
3.1 Click on the Delete icon of a specific work order.

3.2 The Delete Work Order dialog will then appear.

3.3 Click the Delete button delete the work order. Click Cancel button to cancel deleting the work order.

4. Deleting Multiple Work Orders
4.1 Check on the checkboxes on the right-most side of the work orders.
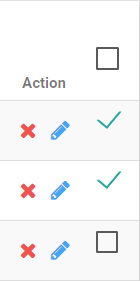
4.2 Select Delete under the Select Action drop-down menu.
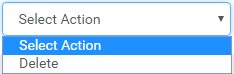
4.3 The Delete Work Order dialog will then appear.

4.4 Click the Delete button delete the work order. Click Cancel button to cancel deleting the work order.

5. Work Orders Pagination
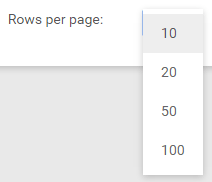
5.1 The table only shows the first 10 work orders according to the sorted column, and the rest will be on different pages.

5.2 Click and choose from the dropdown to change the number of records to be displayed per page.
5.3 Click on the navigation buttons below the table to jump to a specific page.
5.4 Enter a page number and Click Go to jump directly to a specific page.

Was this article helpful?
That’s Great!
Thank you for your feedback
Sorry! We couldn't be helpful
Thank you for your feedback
Feedback sent
We appreciate your effort and will try to fix the article