The Fuel Receipts page provides access to view, create, edit and delete Fuel Receipts that will be used in calculating State Mileage Reports.
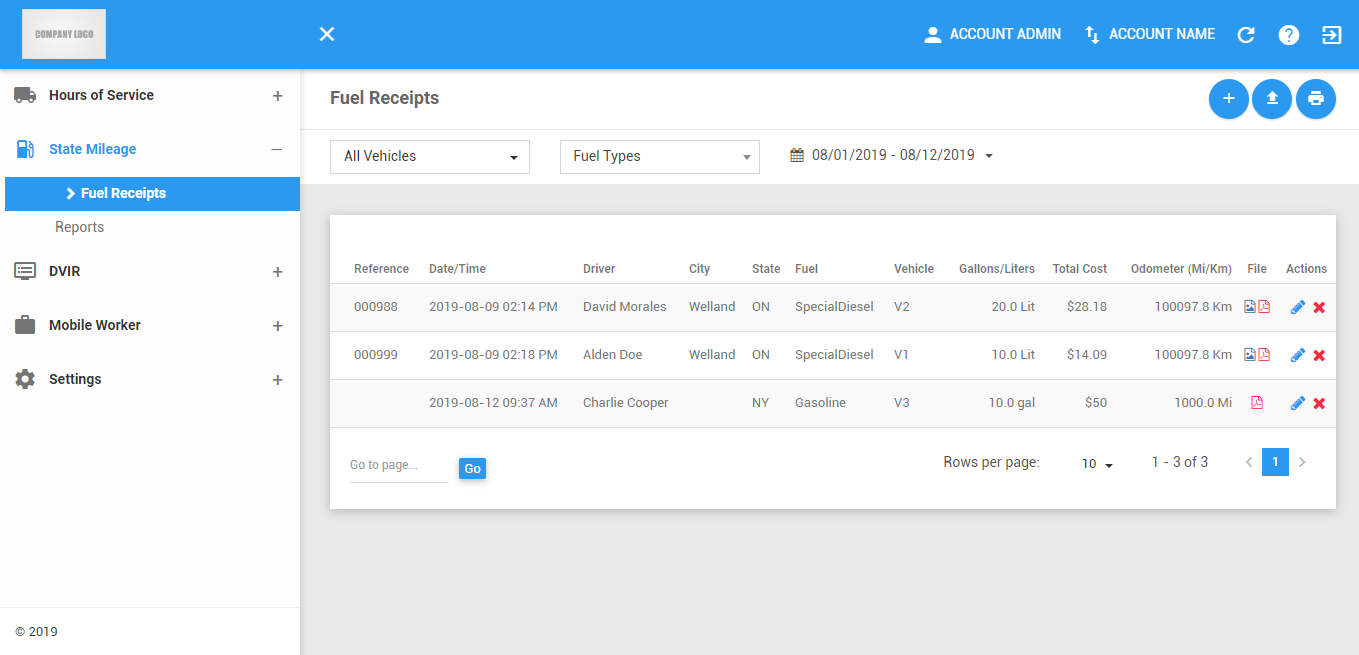
The Fuel Receipts page can be manually refreshed using the Refresh button within the site header.

Note:This page can only be accessed if the user has enabled the permission to view the State Mileage Fuel Receipts tab.
For a more detailed explanation on the State Mileage computations and report generation, see the State Mileage User Guide
Fuel Receipt Actions
1. Add Fuel Receipt
1.1 Click on the +Fuel Receipt button.

1.2 The Add Fuel Receipt dialog will then appear.
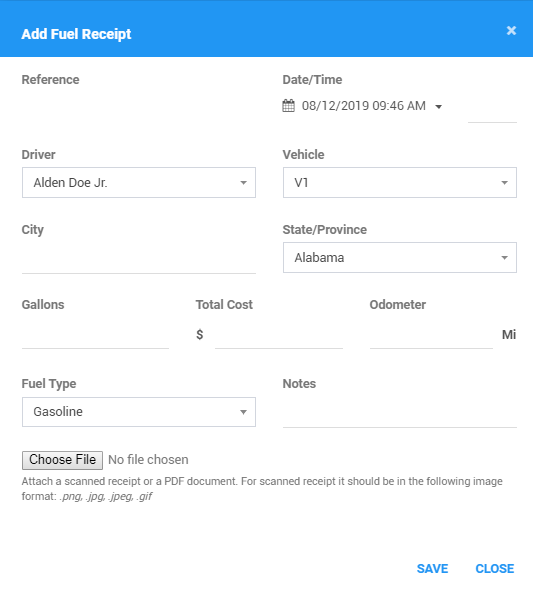
1.3 Fill in the fuel receipt details:
Enter the Reference Number.
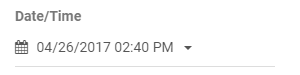
Enter the Date/Time.
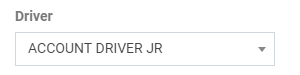
Select a Driver.
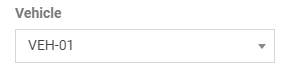
Select the Vehicle.
Enter the City and select a State/Province.

Enter the Gallons, the Total Cost and the Odometer value.

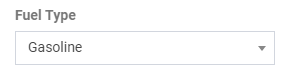
Select the Fuel Type.
Enter optional Notes for the fuel receipt.
Click Choose File button and browse the file to upload.Notes for the fuel receipt.

1.4 Click on the Save button to save the fuel receipt. You can also click on the Close button or the X button of the dialog to cancel the creation.

2. Upload Fuel Receipt
2.1 Click on the Upload CSV button.

2.2 The Upload CSV dialog will then appear.
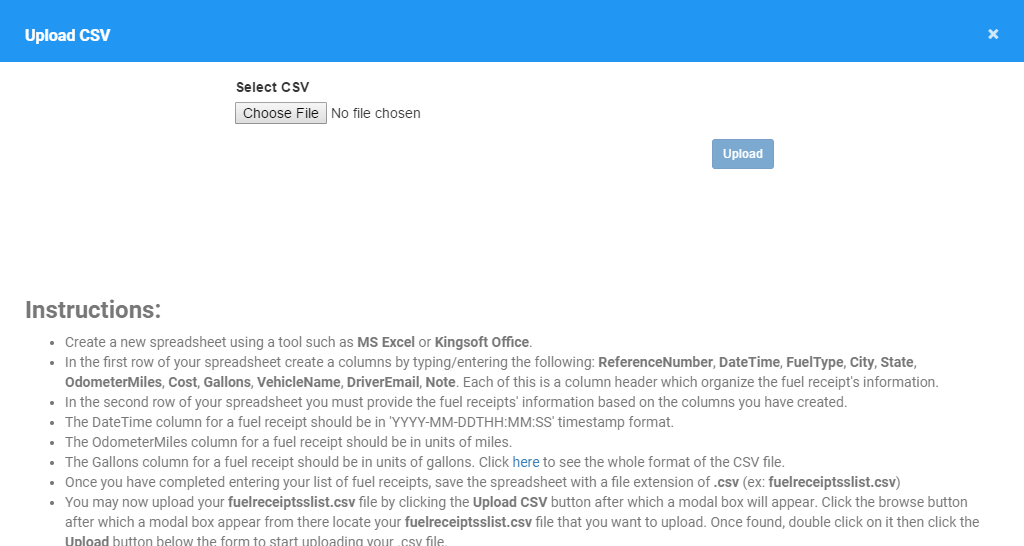
2.3 Browse for your CSV file and click Upload button.
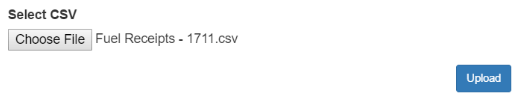
2.4 A success message will then appear if the upload is successful. Otherwise an error message will appear.
2.5 Click on the Close button of the modal to close the dialog after uploading or to cancel the CSV upload.

3. Export Fuel Receipts
3.1 Click on the Export button to download a report of the fuel receipts.

3.2 The Export File dialog will then appear.
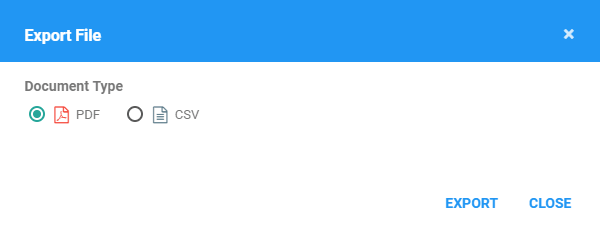
3.3 Select a document type and click Export button.
3.4 The report will be saved as a PDF file when you selected PDF, and as a CSV file when you selected CSV. Click here for a sample PDF report.
Filtering the Fuel Receipts Table
1. Filter by Vehicle
1.1 Click on the Vehicles drop-down list.

1.2 Select at least 1 or more Vehicles in the drop-down list.
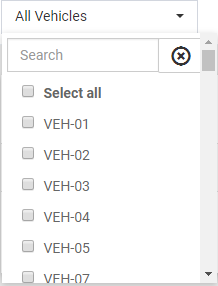
1.3 The Fuel Receipts table will then be updated to only show the specific results which fall under the applied filter.
2. Filter by Fuel Type
2.1 Click on the Fuel Types drop-down list.

2.2 Select a Fuel Type in the drop-down list.
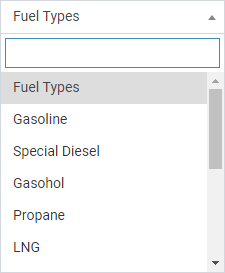
2.3 The Fuel Receipts table will then be updated to only show the specific results which fall under the applied filter.
3. Filter by Date
3.1 Click on the Date Picker.

3.2 Select a predefined date range or select Custom Range.
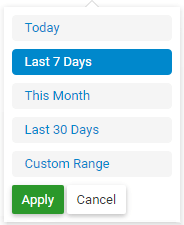
3.3 The Fuel Receipts table will then be updated to only show the specific results which fall under the applied filter.
Fuel Receipts Table
1. Edit Fuel Receipt
1.1 Click on the Edit icon of a specific fuel receipt.

1.2 The Edit Fuel Receipt dialog will then appear.
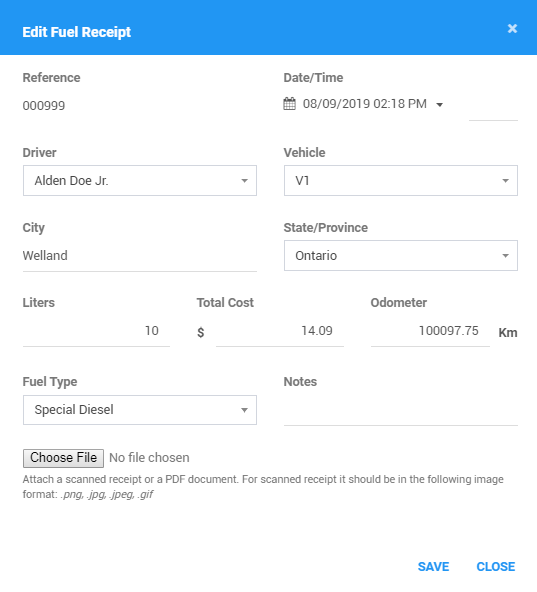
1.3 Fill in / select the fuel receipt details as you would in creating a fuel receipt.
1.4 Click the Save button to successfully save the fuel receipt. Click the Close or the X button of the modal to cancel the edit.

2. Filter by Date
2.1 Click on the Delete icon of a specific fuel receipt.

2.2 The Delete Fuel Receipt dialog will then appear.
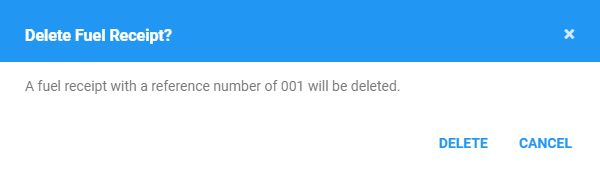
2.3 Click the Yes button to successfully delete the fuel receipt. Click the No or the X button of the modal to cancel the deleting of the fuel receipt.

3. Fuel Receipts Pagination
3.1 The table only shows the first 10 fuel receipts according to the sorted column, and the rest will be on different pages.

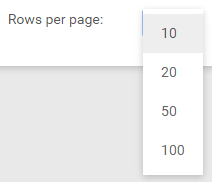
3.2 Click and choose from the dropdown to change the number of records to be displayed per page.
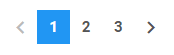
3.3 Click on the navigation buttons below the table to jump to a specific page.
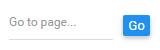
3.4 Enter a page number and Click Go to jump directly to a specific page.
Was this article helpful?
That’s Great!
Thank you for your feedback
Sorry! We couldn't be helpful
Thank you for your feedback
Feedback sent
We appreciate your effort and will try to fix the article